Game Development with Bakin
I recently decided to challenge myself and started making an action game with Bakin. I’ve put together something that moves at a basic level, so I recorded a video.
It only has the minimum action elements implemented so far, but this is the kind of action game I’m aiming for.
As I continue developing, I decided to write articles so I don’t forget why I implemented each action the way I did, and hopefully so others can use them as a reference for their own game-making.
If you want to know why I started developing games, or what Bakin even is, please read this article first.
How to Download Bakin
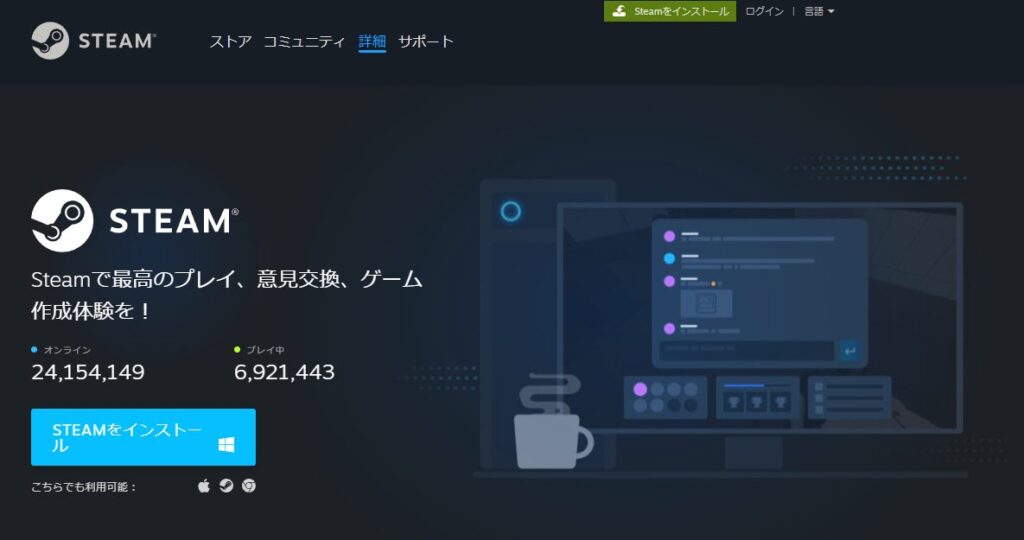
This article walks through how to get Bakin set up. First, visit the official Bakin page and briefly read about what Bakin is.
To actually download Bakin, you need to download it through the Steam platform (since Bakin is sold on Steam).
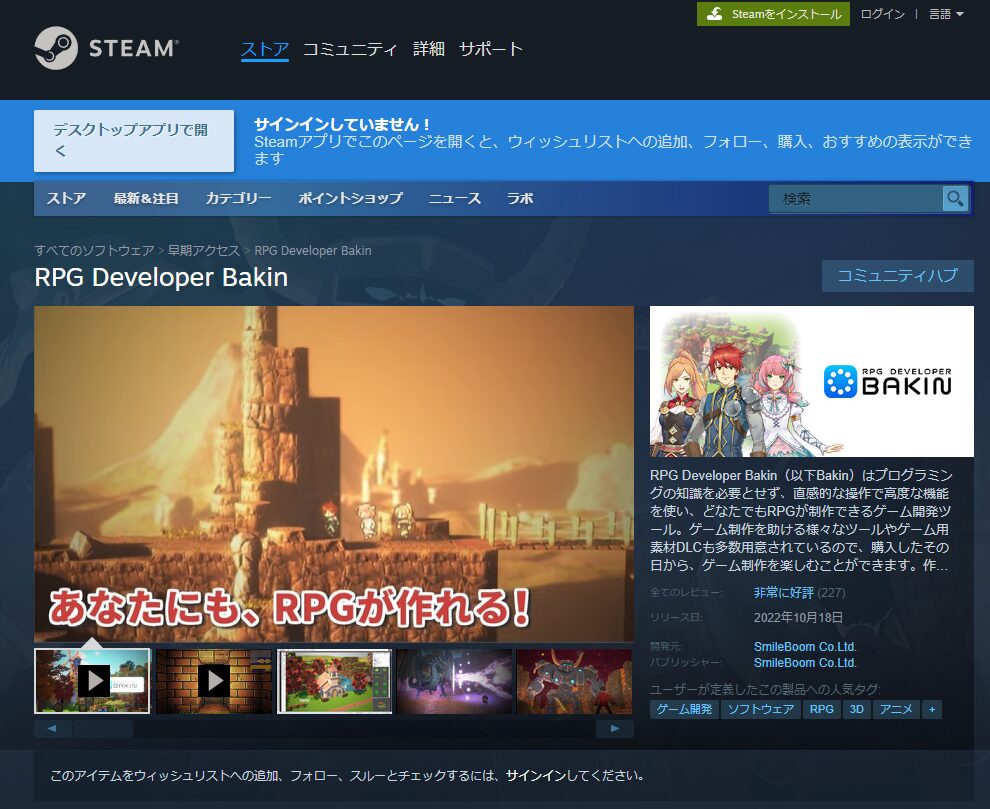
When you visit the official Bakin page on Steam, you’ll see a screen like the one below.
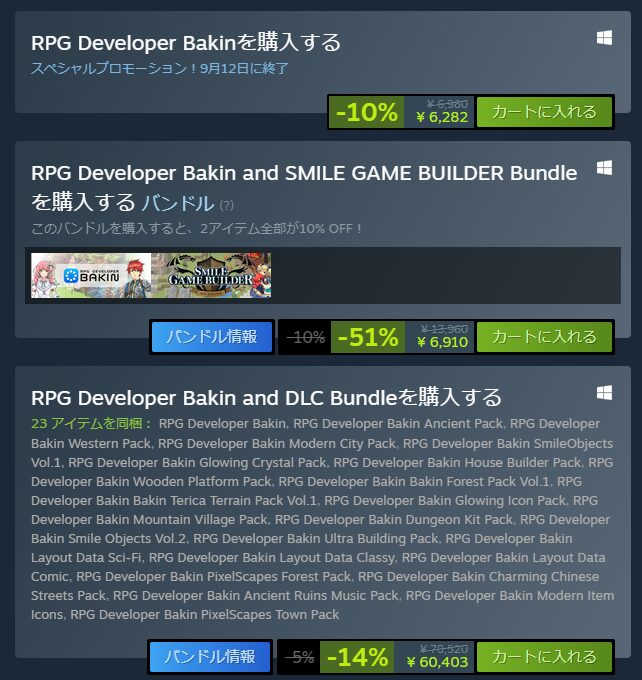
If you already have a Steam account, just add “Buy RPG Developer Bakin” to your cart and complete the purchase.
If you don’t have a Steam account yet, click “Install Steam” at the top of the page.
After clicking “Install Steam,” you’ll see a screen like this. Install Steam and then return to Bakin’s Steam page to complete the purchase.
Depending on when you buy, Bakin may be on sale, or it may be bundled with something called “SMILE GAME BUILDER Bundle.”
If the bundle price isn’t much more than buying alone (as shown in the image below), it includes useful assets for game development, so it might be worth picking up.
Other DLC can be purchased later, only when you find assets you actually want.
Once you’ve purchased Bakin, download and install it. It has a fairly large file size so it will take a little while—when it’s done, go ahead and launch Bakin.
Creating a New Game (Player Setup)
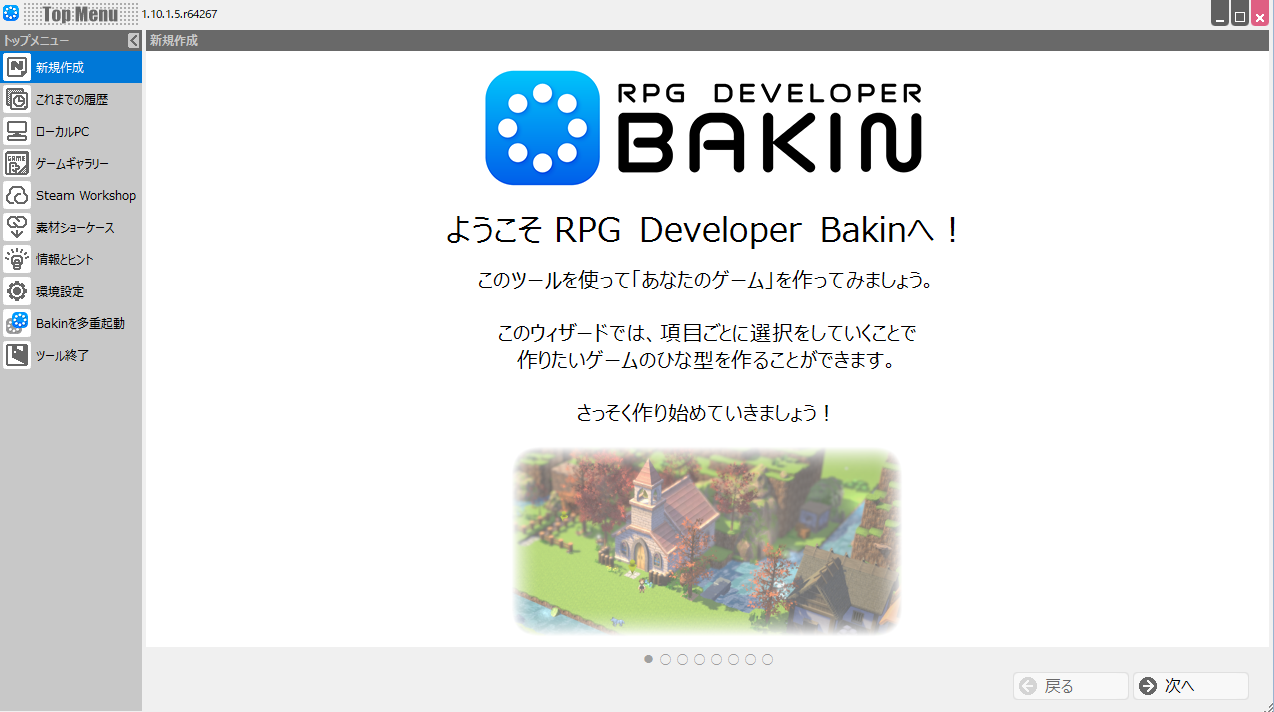
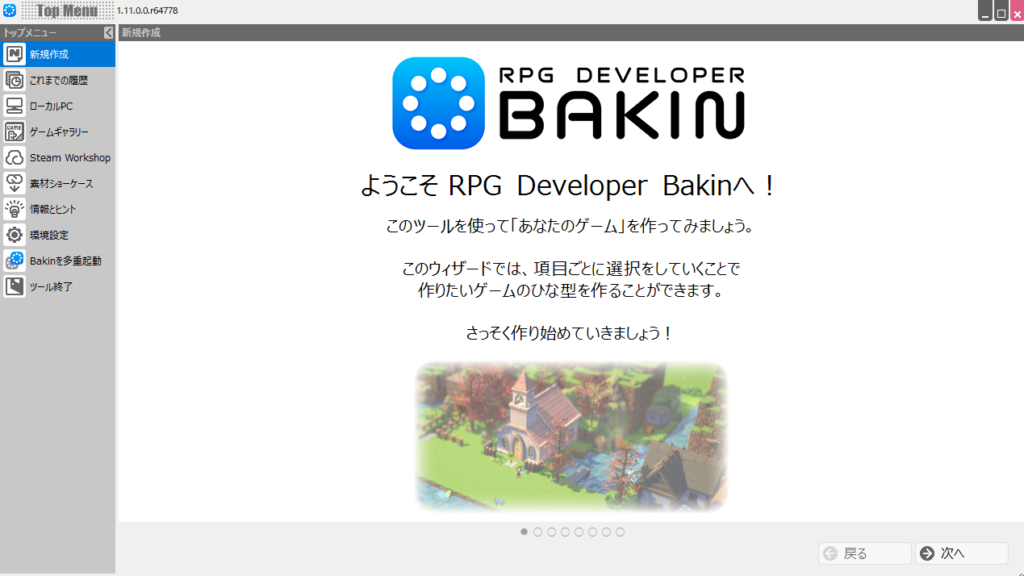
When you launch Bakin, you should see a screen like this. Let’s go ahead and make a working game right away. Select “New Project” from the top menu on the left side of the screen.
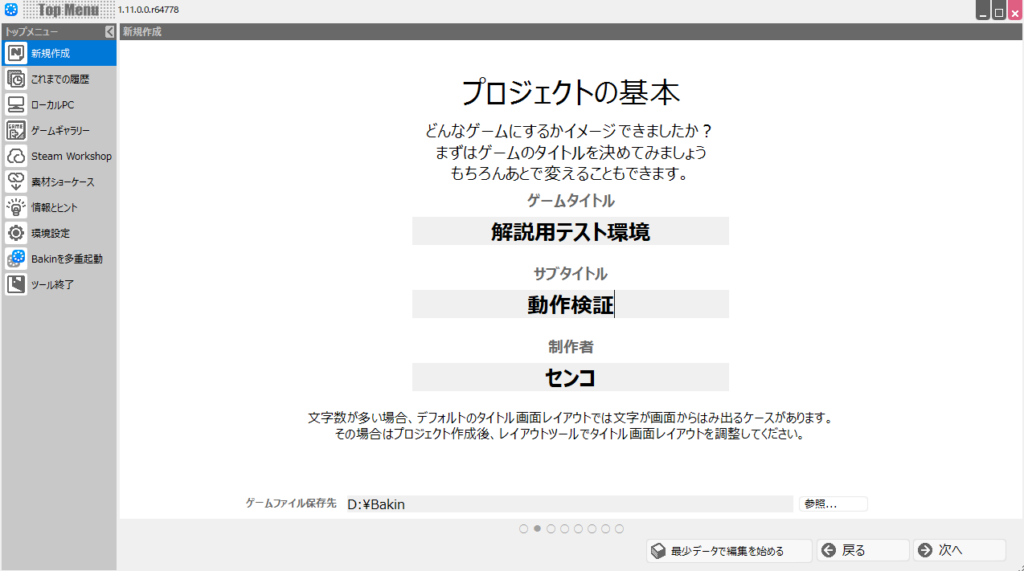
You’ll then see fields to enter the title and creator name for your game world (project). Enter whatever name you like. If nothing comes to mind, leaving the default name as-is is fine.
For “Game file save location,” choose somewhere easy to find since you’ll be storing your Bakin files there. When you’re done, click “Next.”
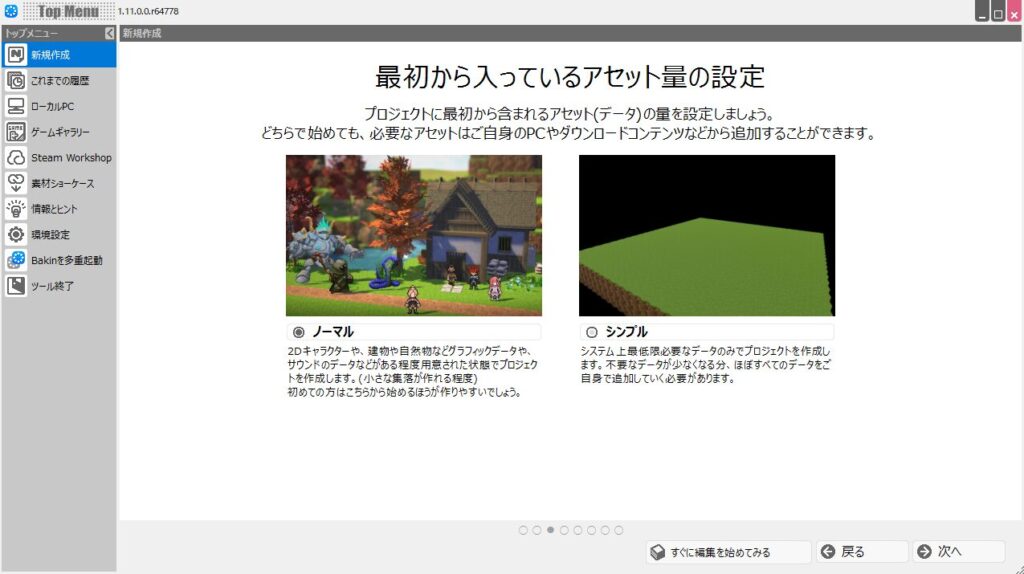
Next, you can choose how many assets to include from the start. Selecting “Normal” is the safe choice (and honestly the better default to always use, since manually adding resources every time is tedious).
When done, click “Next.”
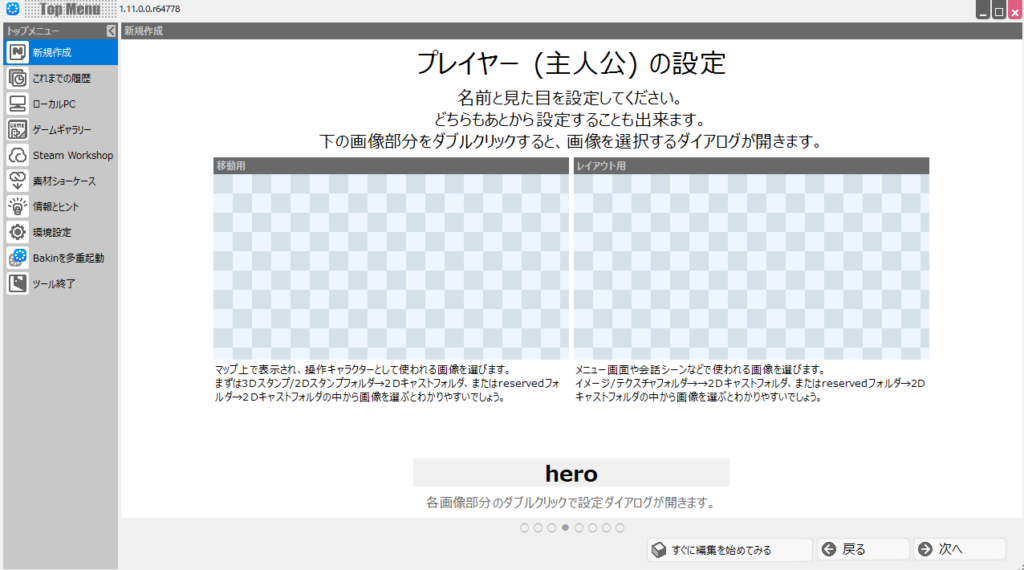
The player (protagonist) setup screen appears next. Set the movement graphic on the left side and the layout image (portrait/body used in dialogue scenes, etc.) on the right side.
First, double-click the image area labeled “For Movement” on the left.
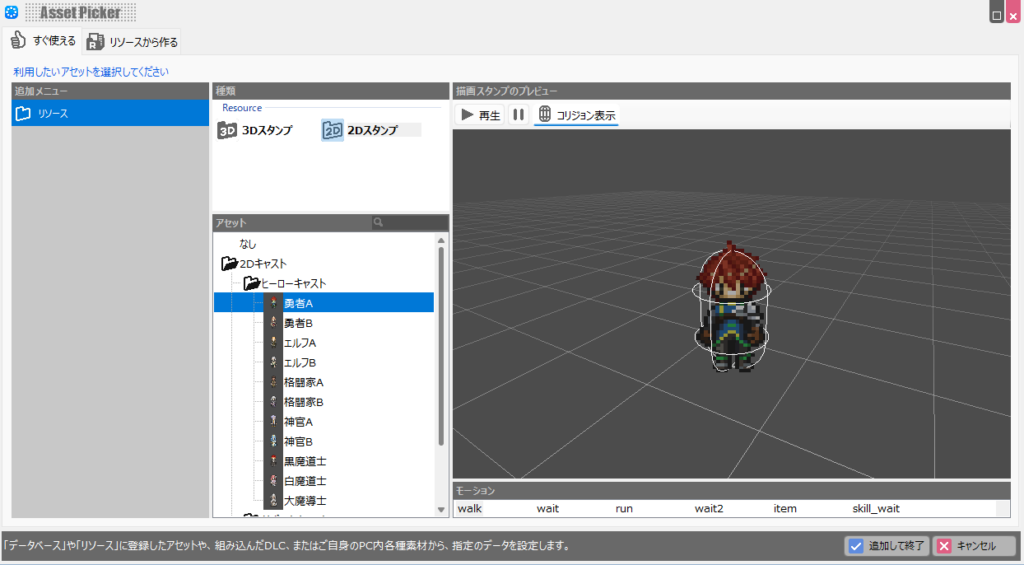
An image selection screen will appear. From “Type,” select “2D Stamp,” then navigate to “2D Cast” → “Hero Cast” and choose “Hero A.” Click “Add and Finish” in the bottom right.
This sets the movement graphic.
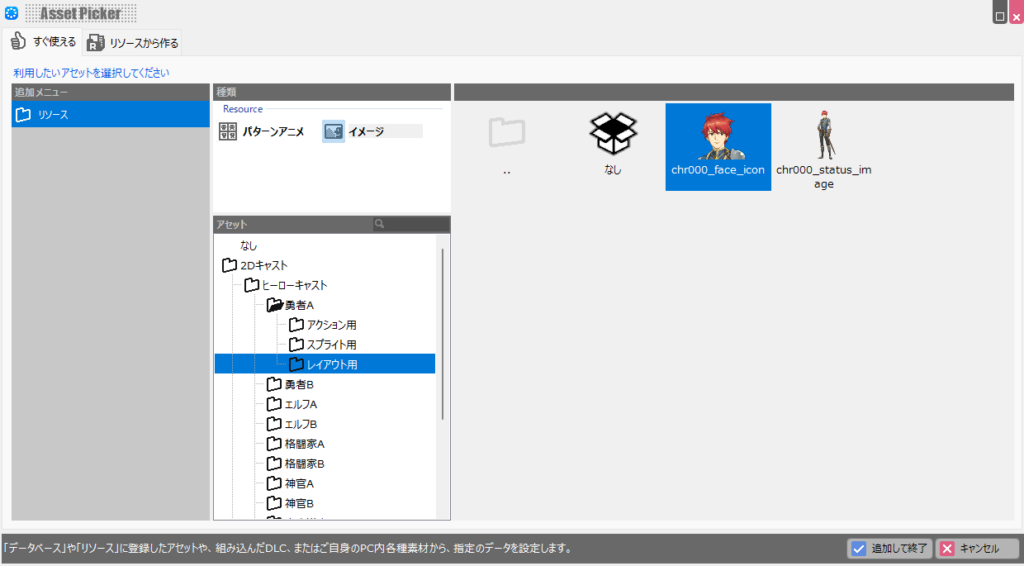
Next, set an image for the “For Layout” slot on the right side of the player setup screen. Double-clicking the layout image area opens the same selection screen.
Here, select “Type” → “Image,” then navigate to “2D Cast” → “Hero Cast” → “Hero A” → “For Layout” and select the character icon.
Once both the movement and layout images are correctly set, the screen should look like this. If everything looks good, click “Next.”

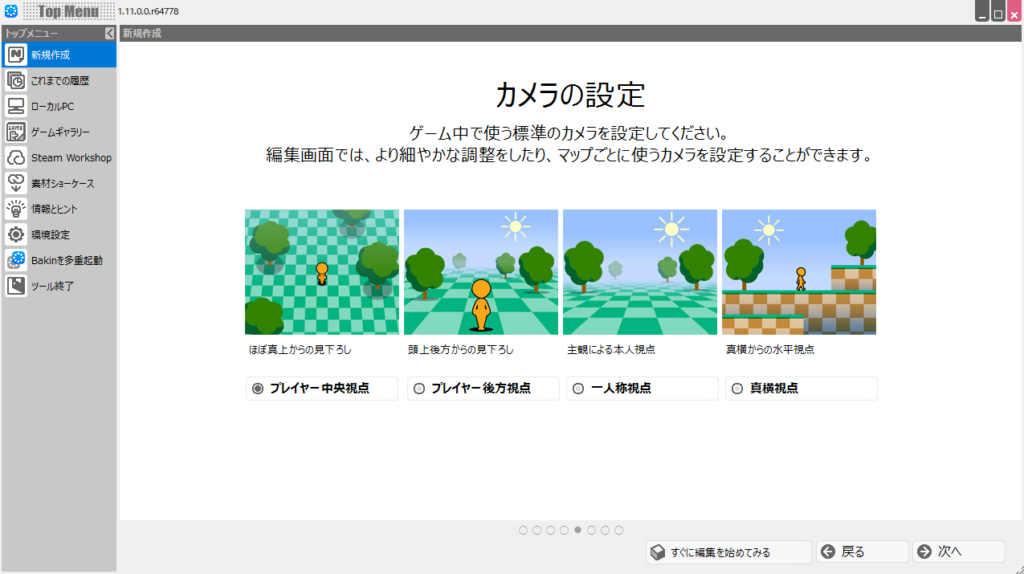
The “Camera Settings” screen appears next. The camera angle you set here determines how the game world is displayed, but you can change it later, so proceed with the default “Player-Centered View.”
Click “Next.”
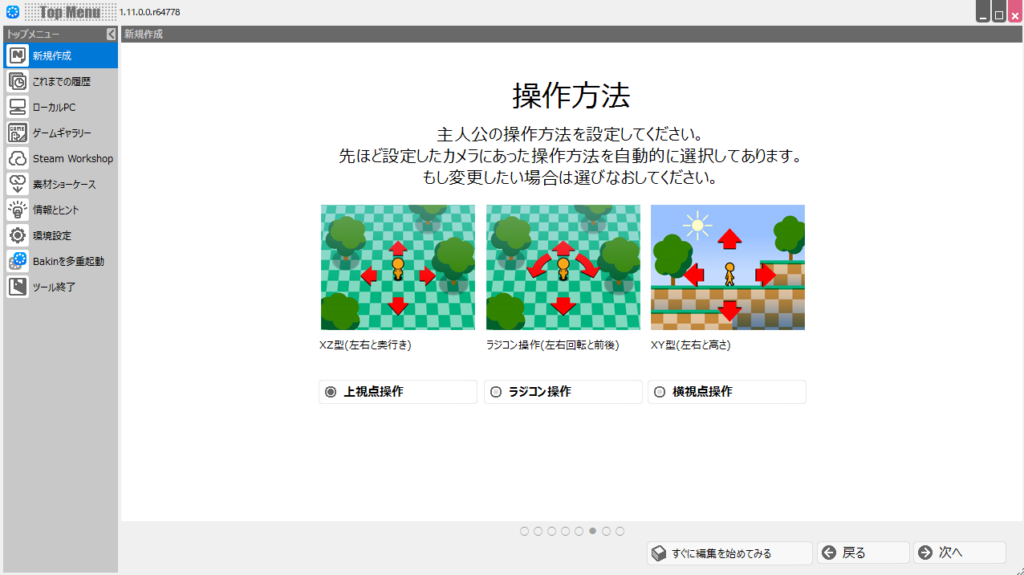
The “Controls” screen appears next. This determines how the player is moved, but you can change it later, so proceed with the default “Top-Down Controls.”
Click “Next.”
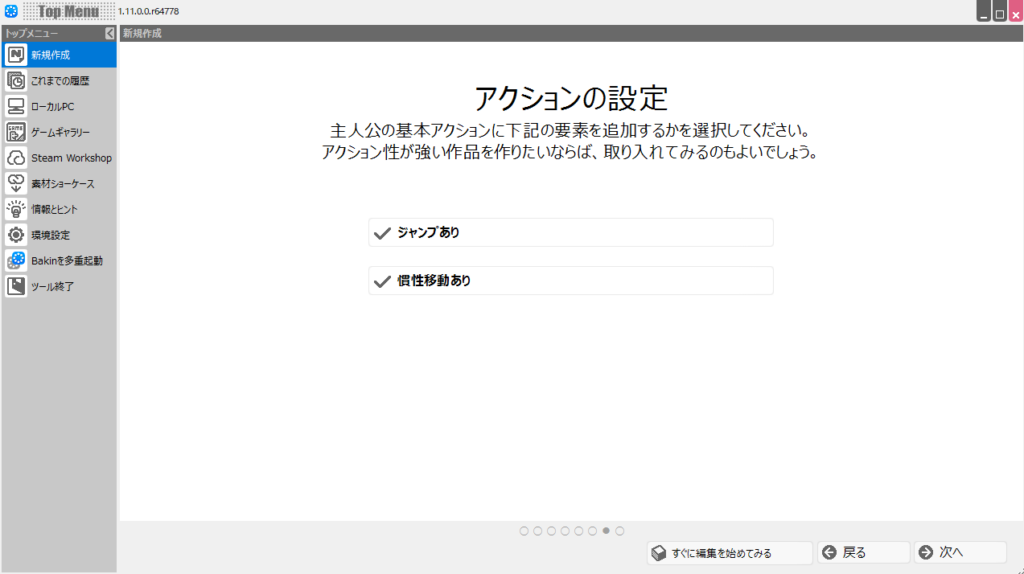
Finally, the “Action Settings” screen appears. Checking “Enable Jump” allows the player to jump when the jump button is pressed. Checking “Enable Inertial Movement” causes the player to slide slightly when movement stops. Whether you need these depends on the type of game, but for this project check both options.
Click “Next.”
That’s all the pre-game configuration done. Click “Start Editing Game” to enter the Bakin editor.
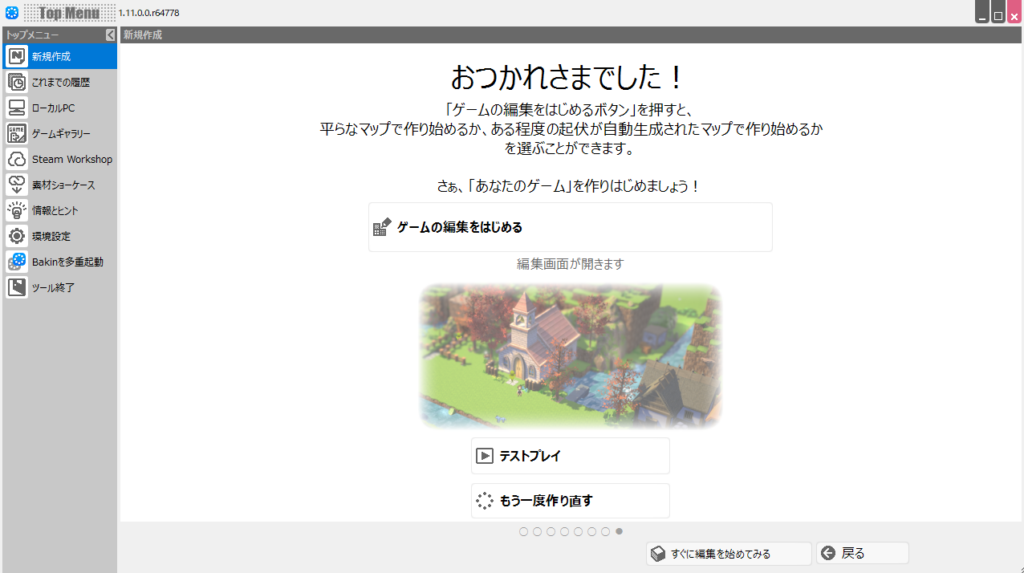
After clicking “Start Editing Game,” a dialog appeared asking whether to use auto map generation. You can use it if you like, but for now I want to focus on just getting things moving, so I’ll select “No.”
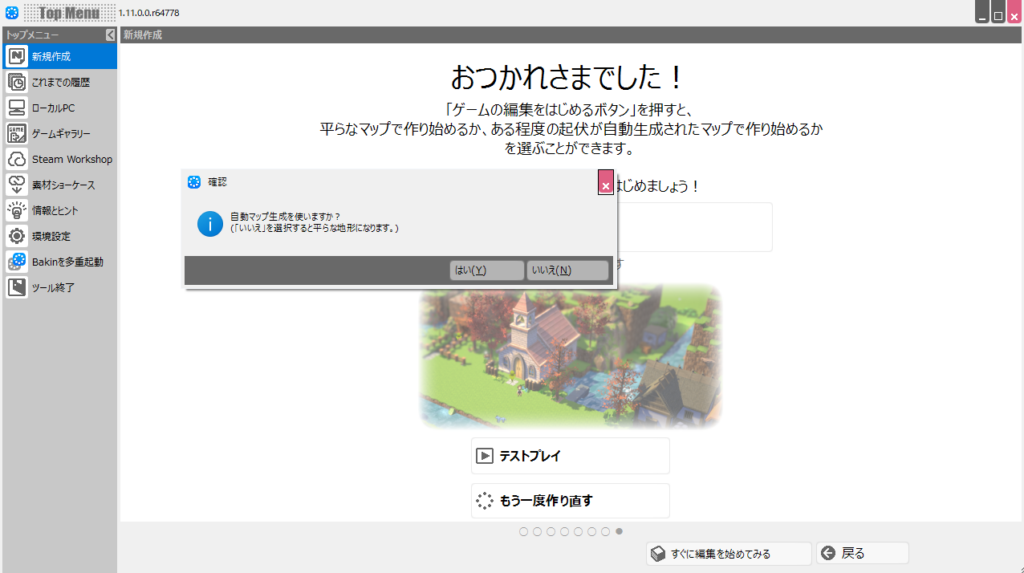
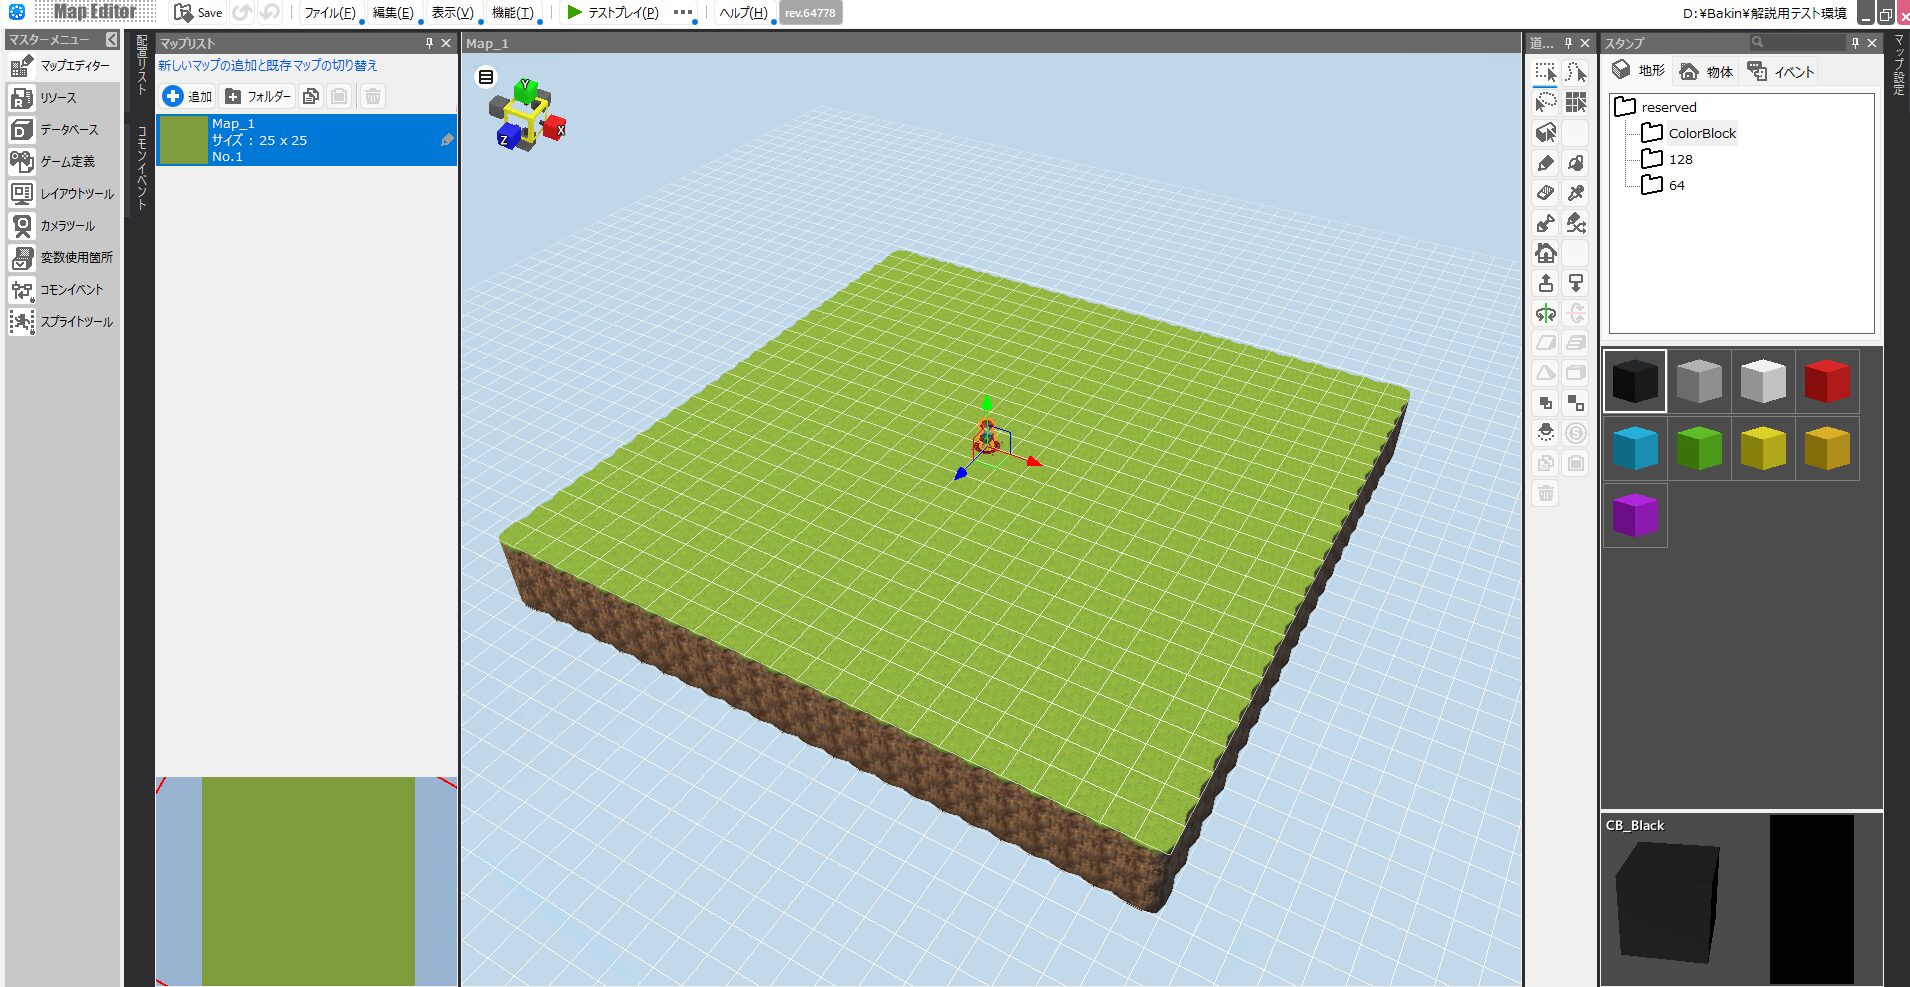
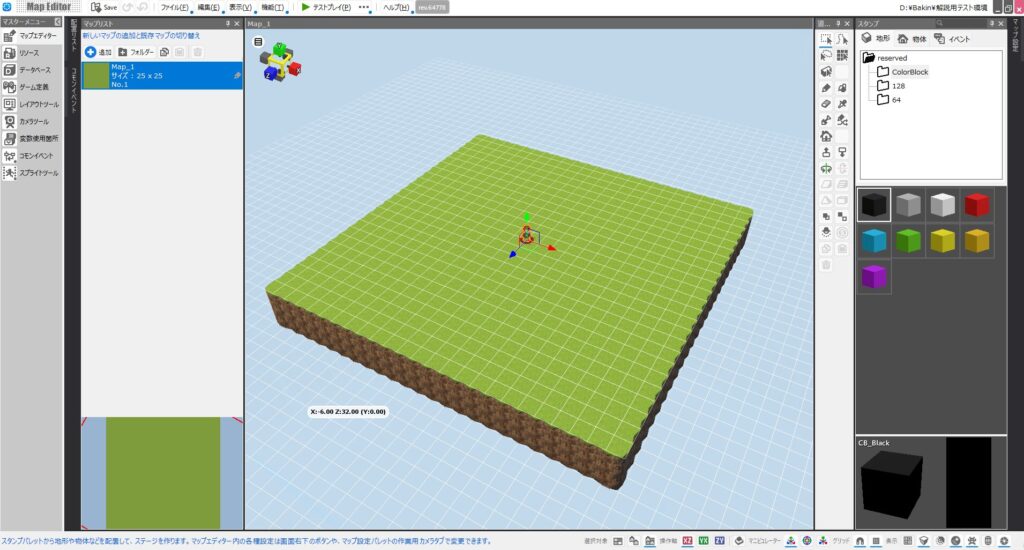
A game appears with the protagonist standing alone in the center of a small square map. If you used the auto map generation, the map would have various raised areas based on the settings. Your initial game and player setup is now complete!
Running the Game
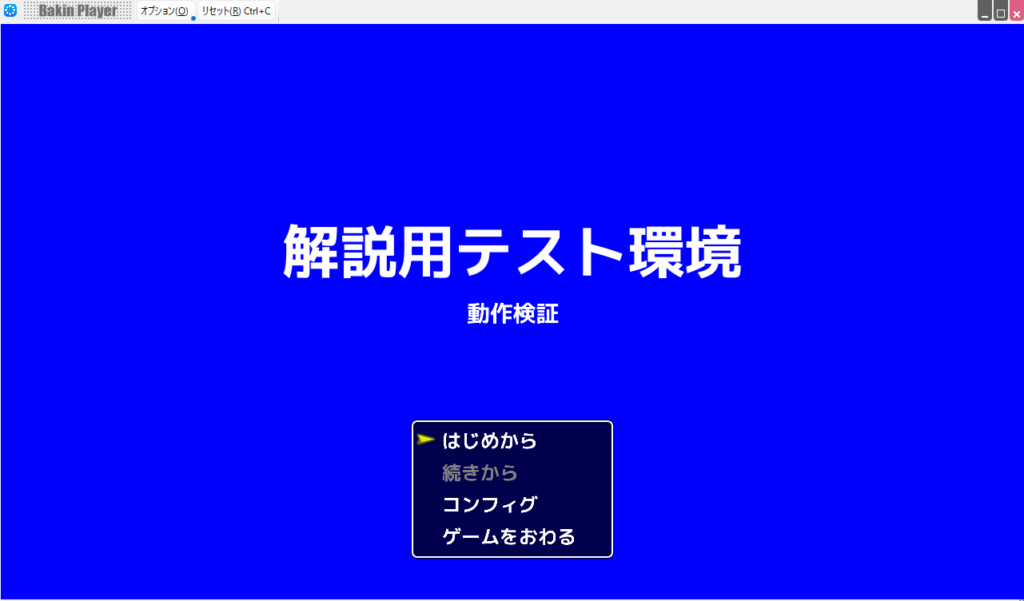
Just creating a game world isn’t very satisfying, so let’s actually run it. Click “Test Play” at the top of the screen.

The game screen should launch as shown below. Select “From the Beginning” to start the game. If you have a gamepad, go ahead and plug it in.
With the default settings, hold “Shift” and press an arrow key to run, and press “X” to jump. Try controlling it yourself.
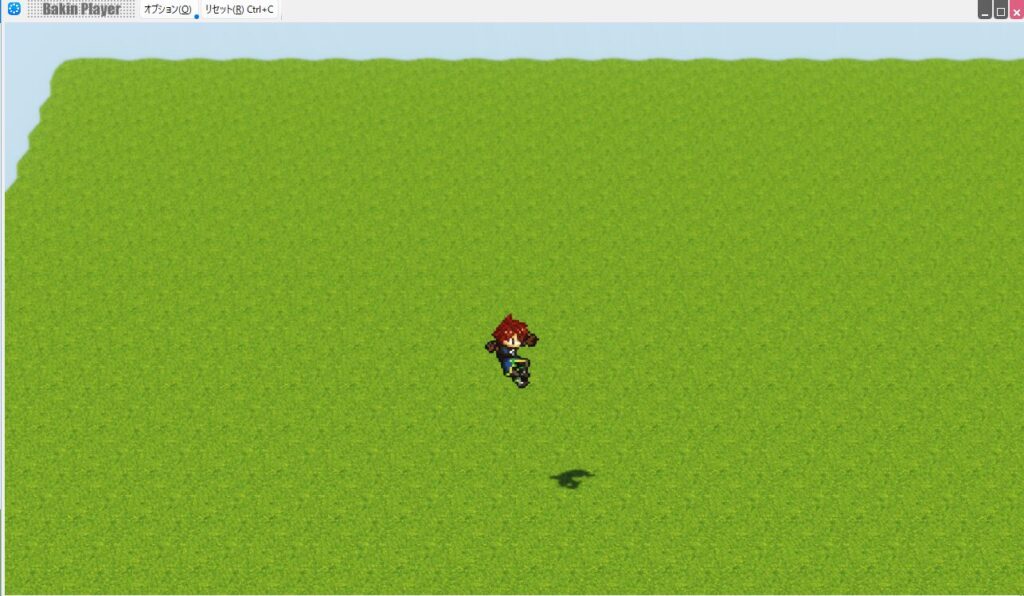
This is about all you can do in the default state, but some people may be amazed that such a working game was this easy to create. Press “ESC” to open the menu screen.
You can confirm that the minimum RPG features are already present.
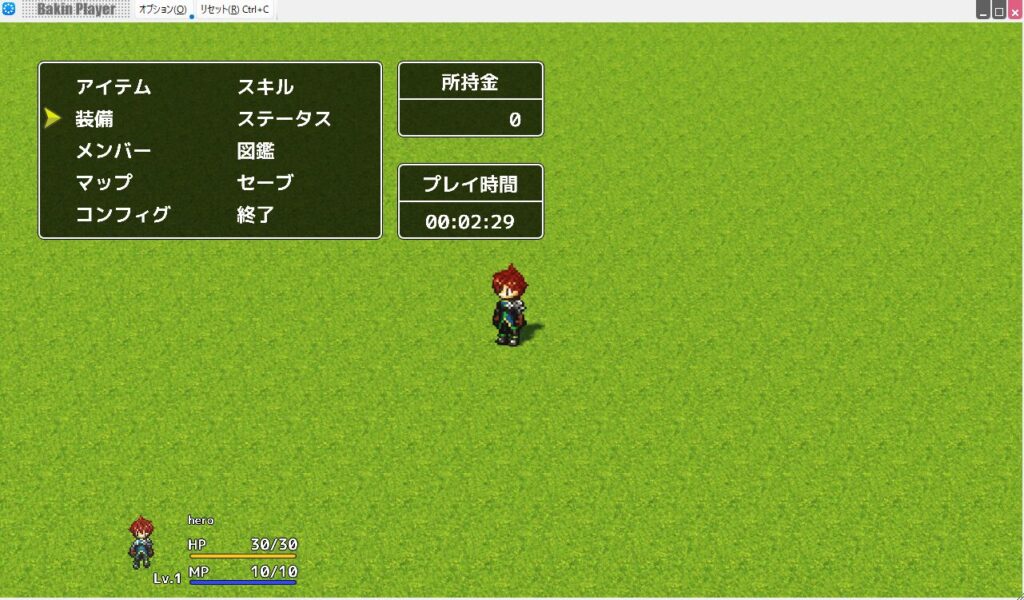
When you’re satisfied, select “Exit” from the menu screen or click the ”×” button in the top-right corner of the game window to close it.
Summary
In this article I covered creating the initial game settings and player in Bakin and actually running it. This is how you create the framework for a game and then flesh it out with events to turn it into a fully playable game.
From next time I’ll explain how to build out the actual action game mechanics, so please check back if you’re interested.
📚 Series: RPG Maker Bakin: Game Development Guide (2/17)