Importing Unity Assets into Bakin
This article explains how to import free Unity assets that already include animations directly into RPG Developer Bakin.
I previously wrote a similar article (linked below), but at some point a Bakin update made importing Unity assets far easier than the method I described there. Specifically, Unity assets—animations included—can now be imported directly into Bakin without going through Blender (though not all assets are compatible).
This article will also cover which free assets can be imported into Bakin with their animations intact.
Importing Animated Unity Assets into Bakin
Before starting, please read the article linked above first. This guide builds on that content, and there will be parts you won’t fully understand without it.
Also, this walkthrough begins from the point where you have already downloaded a Unity asset to your PC whose license (terms of use) permits use in other software—stopping just before the Blender import step from the previous article.
Getting the Unity Asset
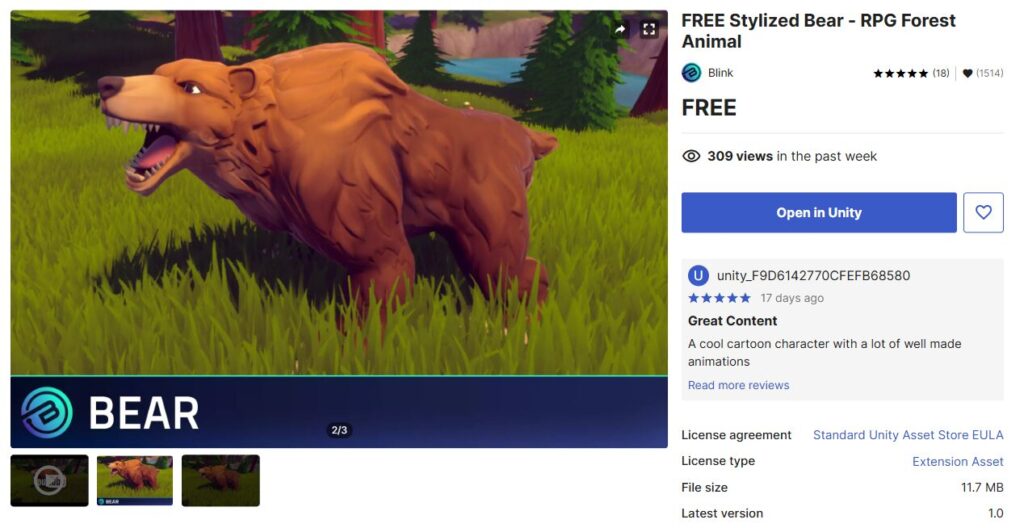
Start by obtaining a Unity asset, just as in the previous article. For this example, I’ll use the free asset “FREE Stylized Bear - RPG Forest Animal.”
Download it to your PC, then proceed to the next step.
Importing the Asset as a 3D Stamp in Bakin
From this point the process differs from the previous article. Before, you imported the Unity asset into Blender—this time you import it directly into Bakin.
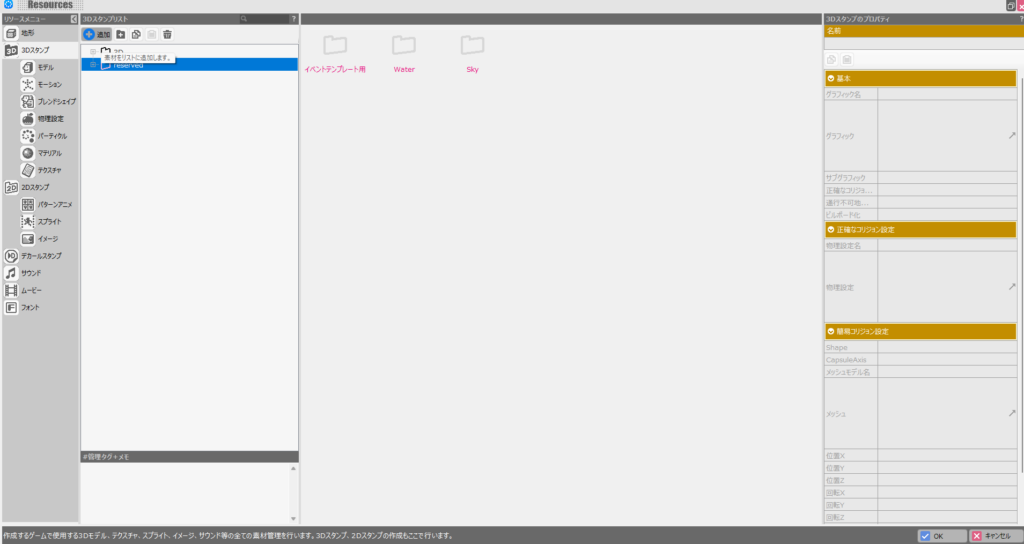
Open the Bakin project you want to add the asset to, then click the ”+ Add” button at the top left of “Resources” → “3D Stamps.”
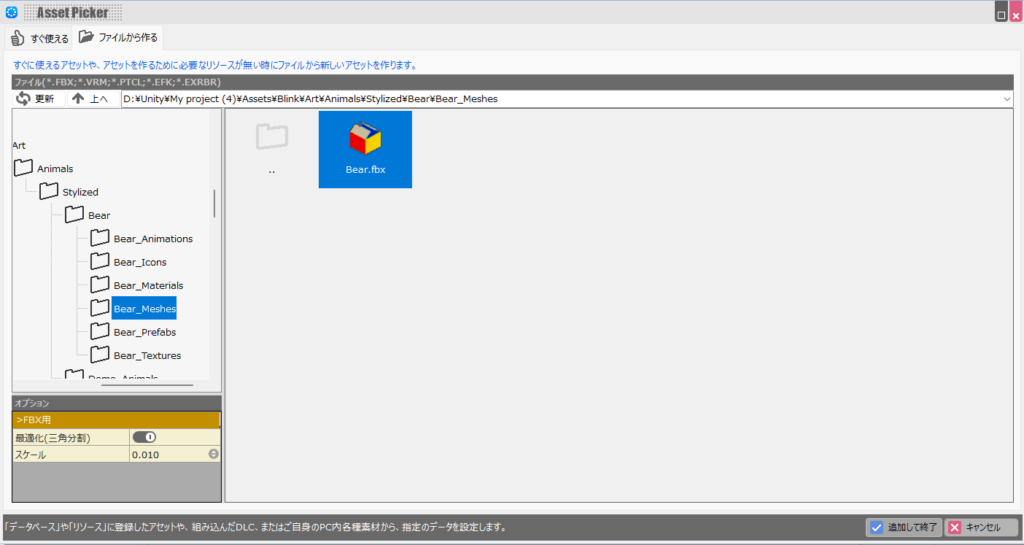
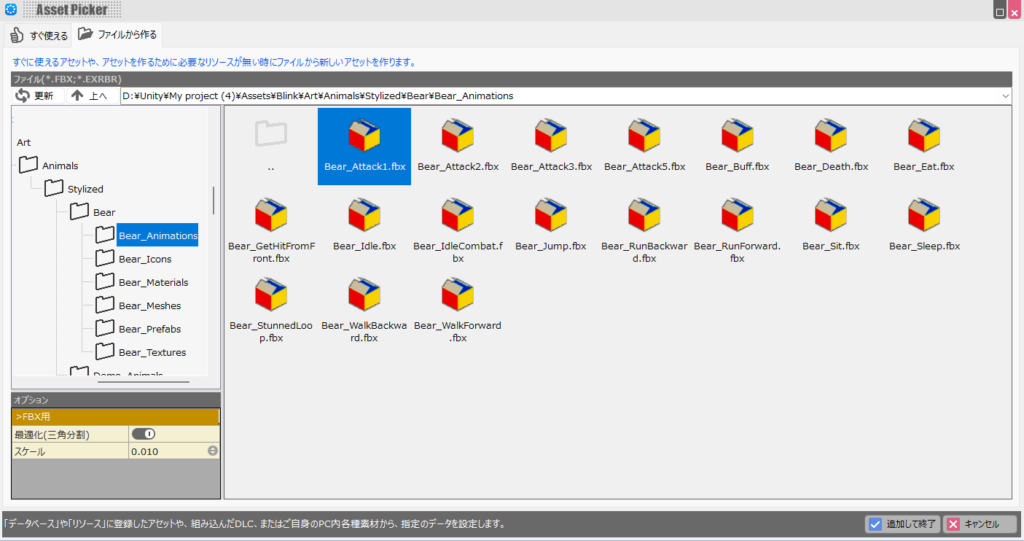
The asset import screen will open. Select the “Create from File” tab in the upper left. You need to point to the FBX file from the Unity asset downloaded to your PC.
The asset’s file path is:
[Unity Project Path]\Assets\Blink\Art\Animals\Stylized\Bear\Bear_Meshes
(Replace the bracketed portion with your own Unity project path.)
If you’re unsure of the path, refer to the “Show in Explorer” method explained in the previous article.
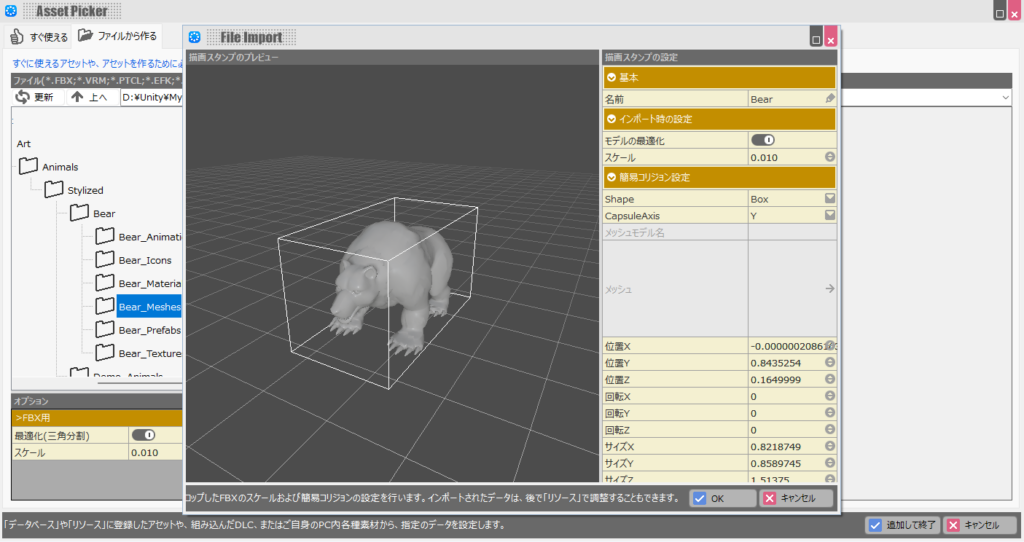
With the asset selected, set the “Scale” option in the lower left to “0.01.”
Unity assets imported at their native scale will be far too large in Bakin. Setting the scale to 0.01 reduces them to 1/100th of their original size before importing.
Some assets may need a different scale value, but 0.01 is generally a safe starting point (you can also adjust it on the next screen).
Once the option is configured and the FBX file is selected, click “Add and Finish” in the lower right.
A confirmation dialog will appear—click “OK.”
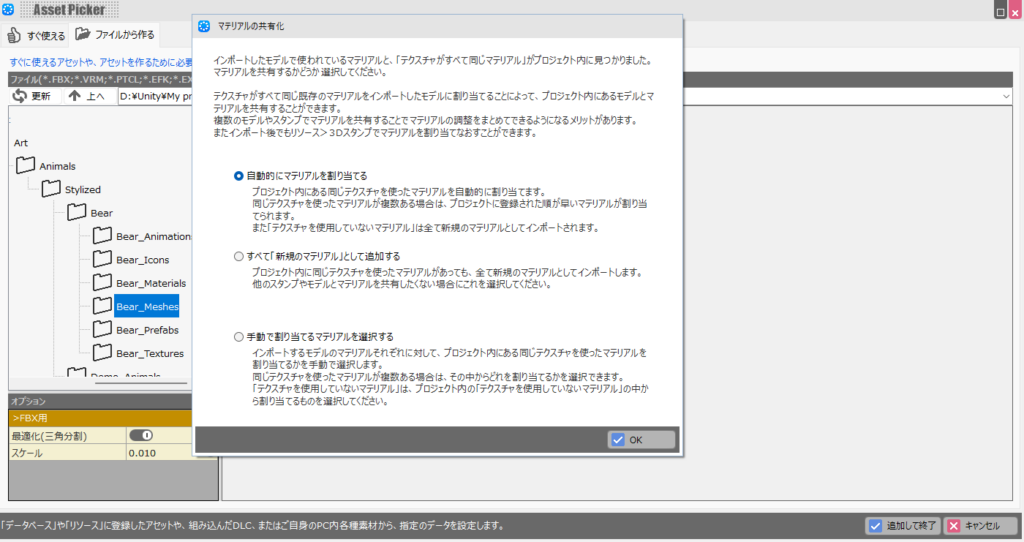
Depending on your project state, a material-related confirmation screen may appear. Leave the settings as-is and click “OK.”
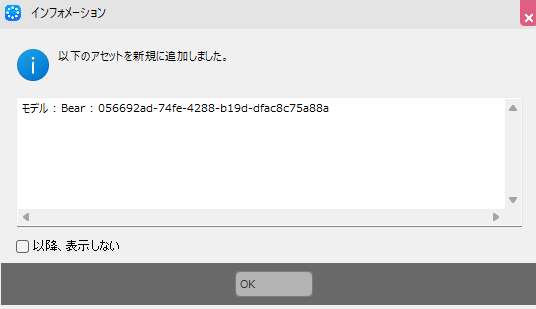
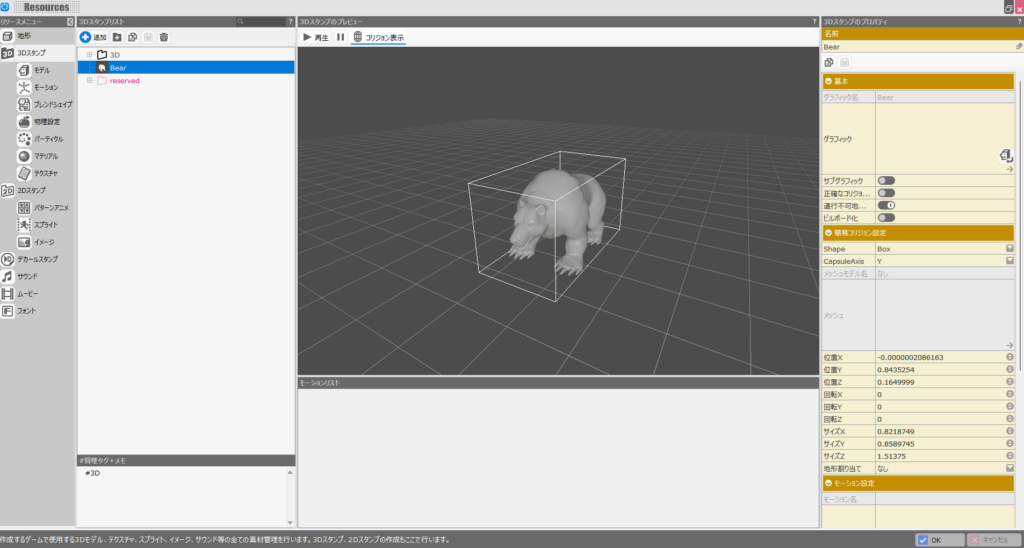
When the import completes successfully, an information screen appears—click “OK.”
And that’s it—the Unity asset has been imported into Bakin. For assets without animations, all that’s left after this is setting up the material, which is impressive on its own.
Setting Up Animations (Motions) for the Imported Asset
Some Unity assets—like the bear in this example—include animations (referred to as motions in Bakin). If an asset has no animations, you can skip this section.
To find the animations, look inside the asset’s folder for FBX files named after specific animations.
Note that many Unity assets store animations as ANIM files (.anim) rather than FBX files. ANIM files cannot be imported into Bakin, so keep this in mind when evaluating assets.
To add motions, go to “Resources” → “Motion” and click the ”+ Add” button in the upper left.
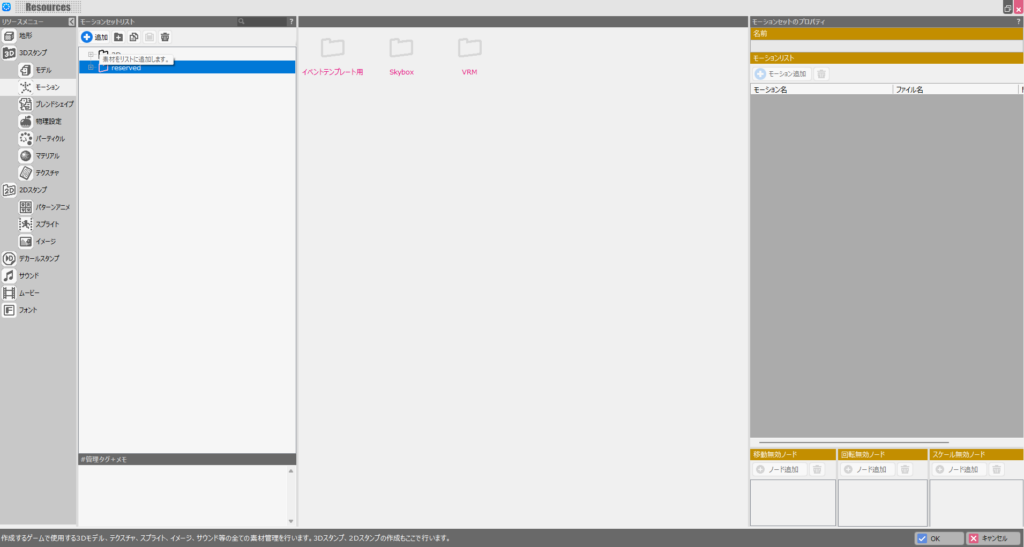
In the same folder hierarchy as the model FBX file, you’ll find a “Bear_Animations” folder. Select one of the animation FBX files inside it.
Leave the scale option at 0.01 and click “Add and Finish.”
Click “OK” on the information dialog.

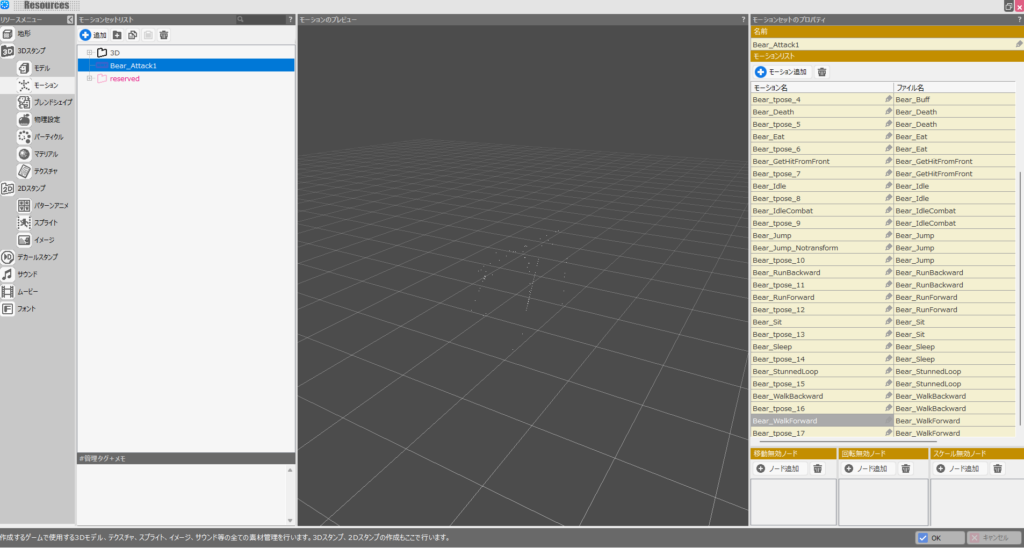
A motion will be created with the same name as the selected FBX file. With that motion selected, click “Add Motion” in the upper right.

Navigate back to the animation FBX file folder and this time select all the files you didn’t select the first time. Click “Add and Finish.”
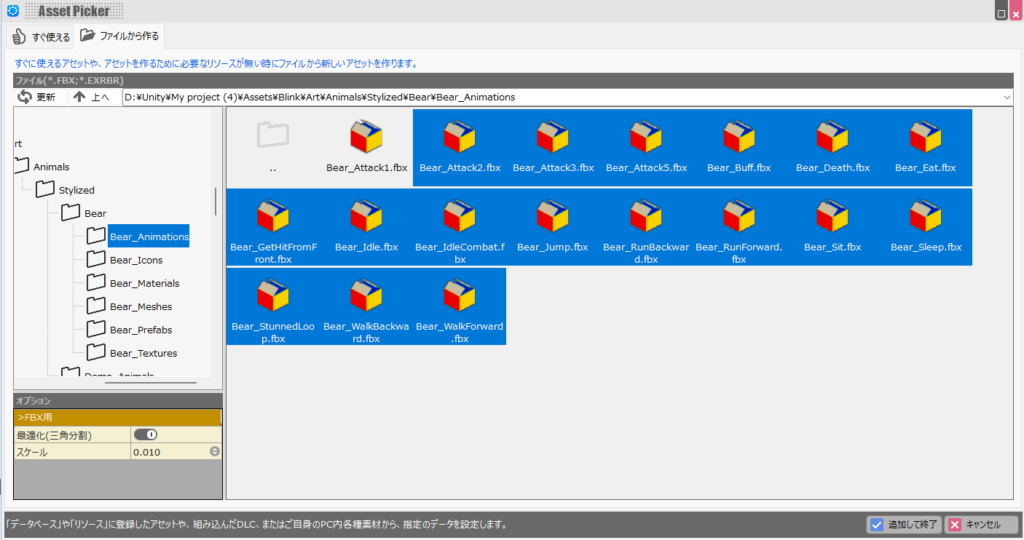
Multiple motions (on the right) will now be nested inside the first motion you created (on the left).
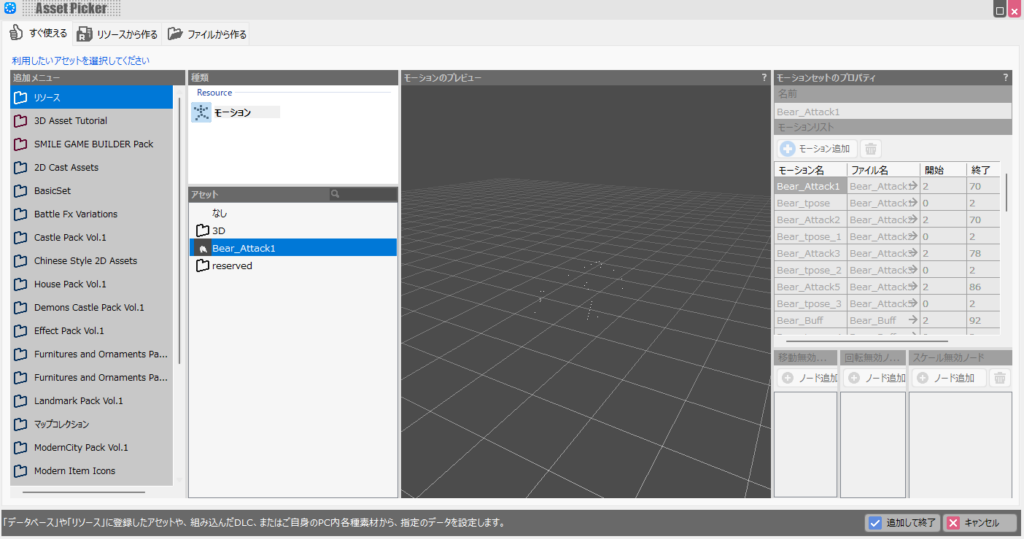
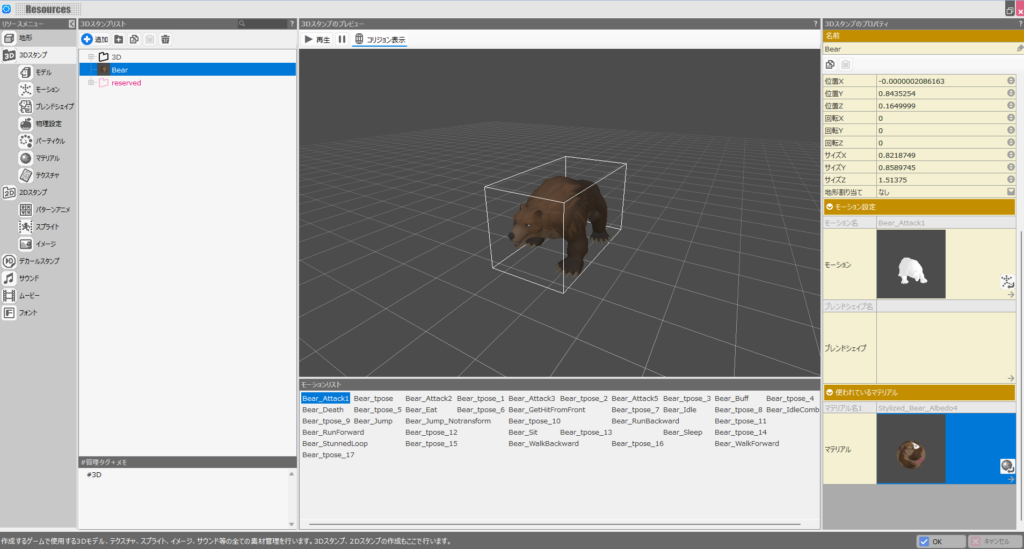
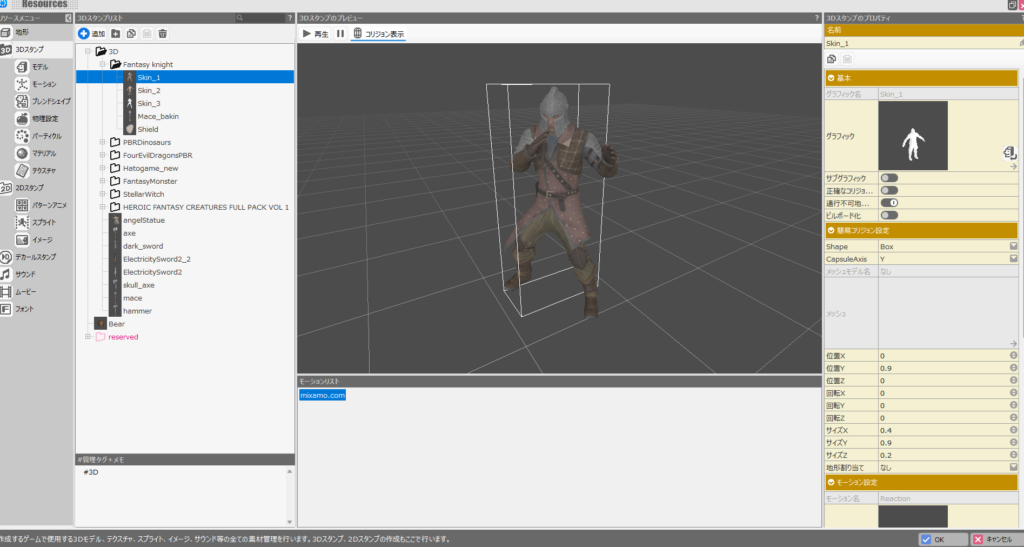
To apply the motions to the 3D stamp, open the 3D stamp and click the field to the right of the “Motion” label.
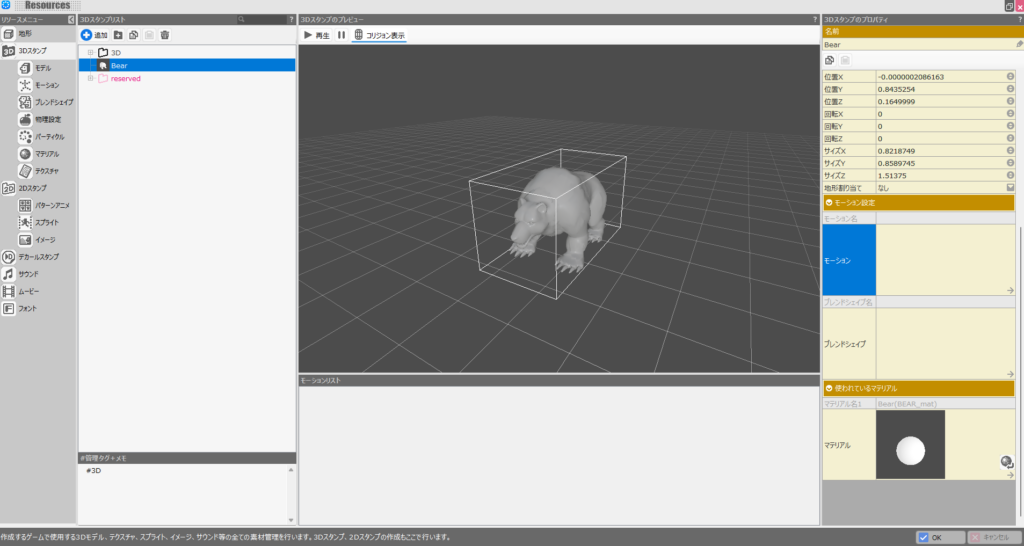
The motion selection screen will appear. Select the motion you just created and click “Add and Finish.”
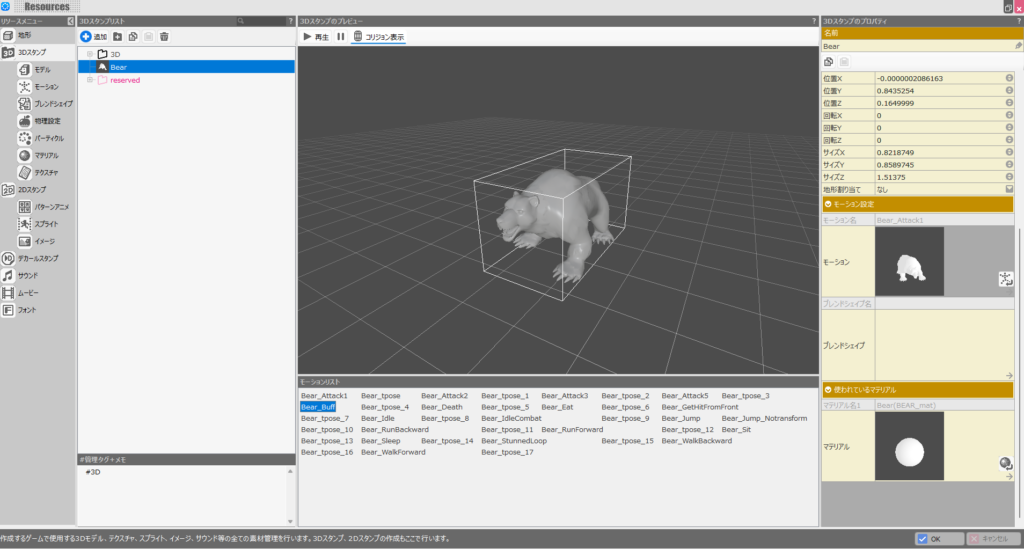
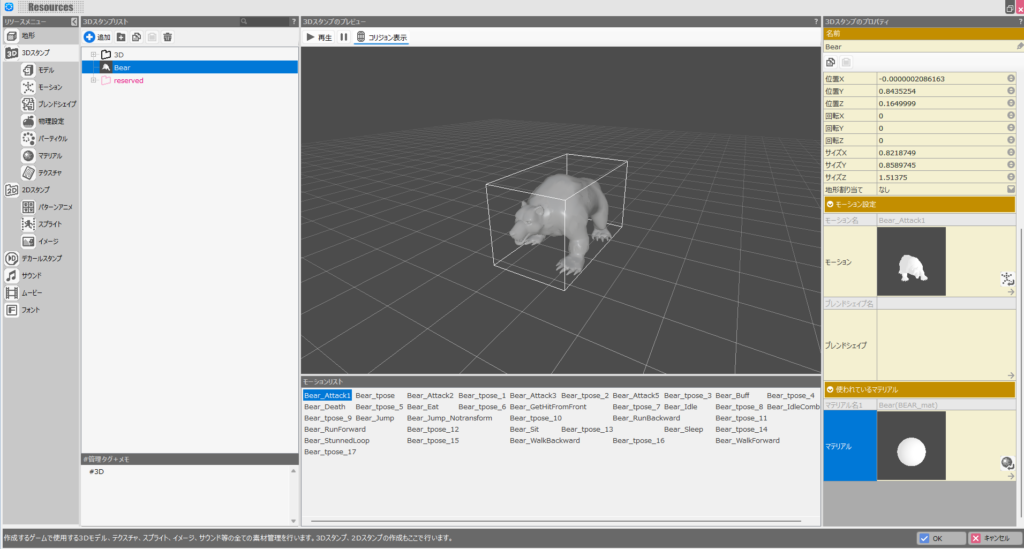
The bear 3D stamp now has animations configured. Check each animation to make sure nothing looks unnatural.
Even if the model looks fine overall, individual joints can sometimes move in odd ways. Testing a variety of motions early will help catch such issues.
Setting Up the Material (Texturing) for the Imported Asset
As a final step, apply a material to the 3D stamp. Click the field to the right of the “Material” label in the right-side properties panel (it defaults to a plain white sphere).
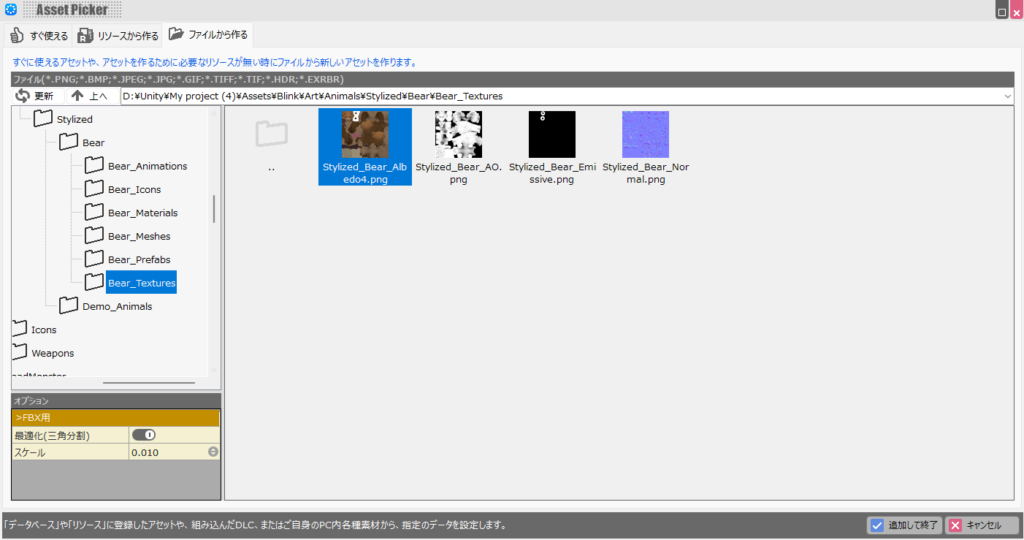
The material selection screen will open. Navigate to the “Bear_Textures” folder in the same hierarchy as the model FBX folder, select the PNG texture file, and click “Add and Finish.”
Note: if you select a texture image with the same filename as one you’ve selected before, Bakin crashes in my environment. This may vary by user, but avoid selecting a texture with a duplicate name to be safe.
Once the 3D stamp displays the correct colors from the material, the setup is complete.
As you’ll have seen, 3D materials in Bakin are applied from a flat PNG image. If you can edit the source PNG, you can create color variants of the same model—something worth exploring if you’re interested.
Some assets use texture formats that Bakin can’t import (such as .tga). If that happens, you’ll need to convert the file to PNG yourself first (search for “tga to png converter” for options).
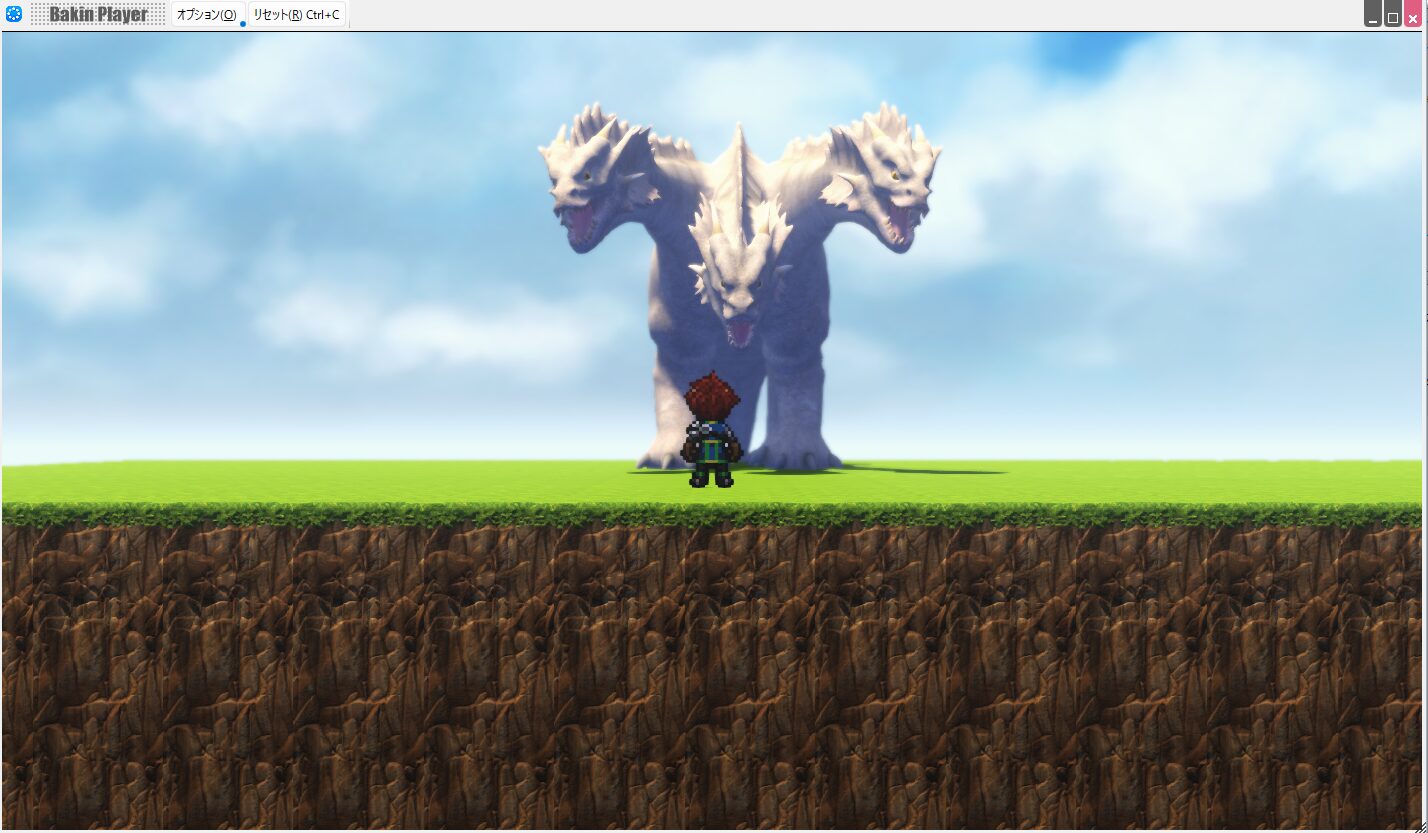
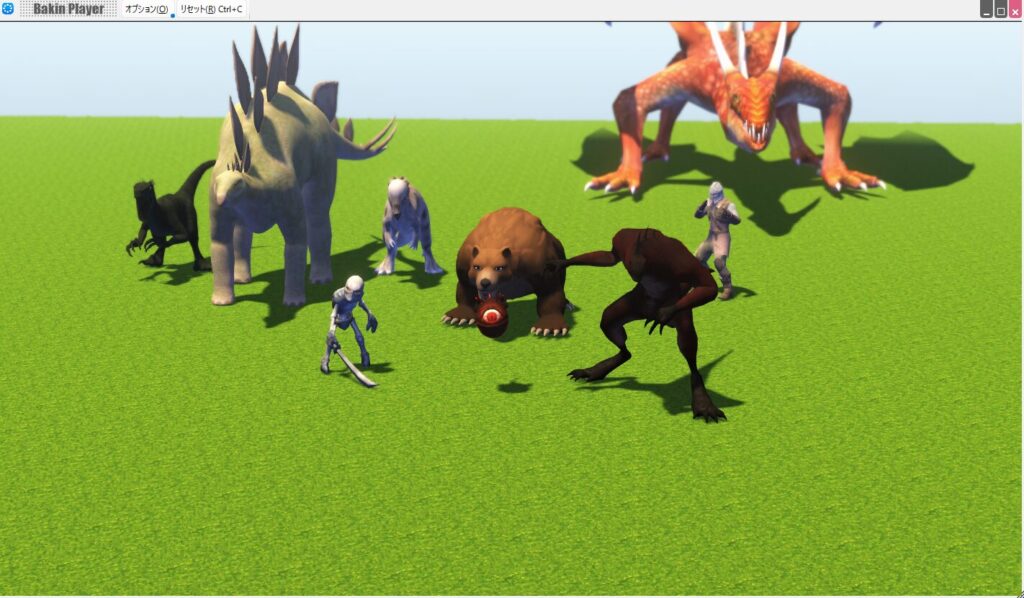
Here’s how the bear looks placed in a Bakin scene:
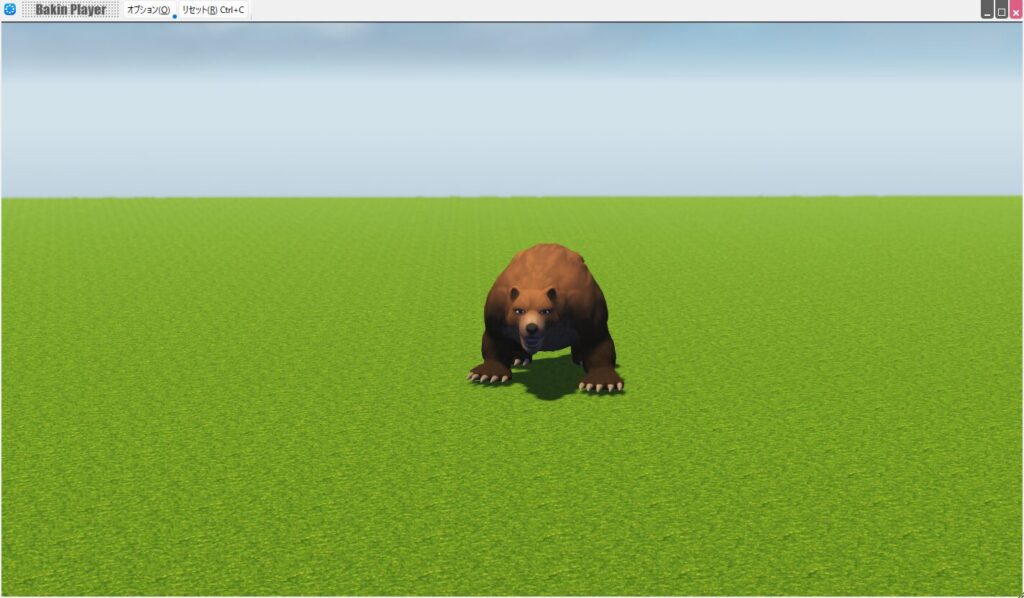
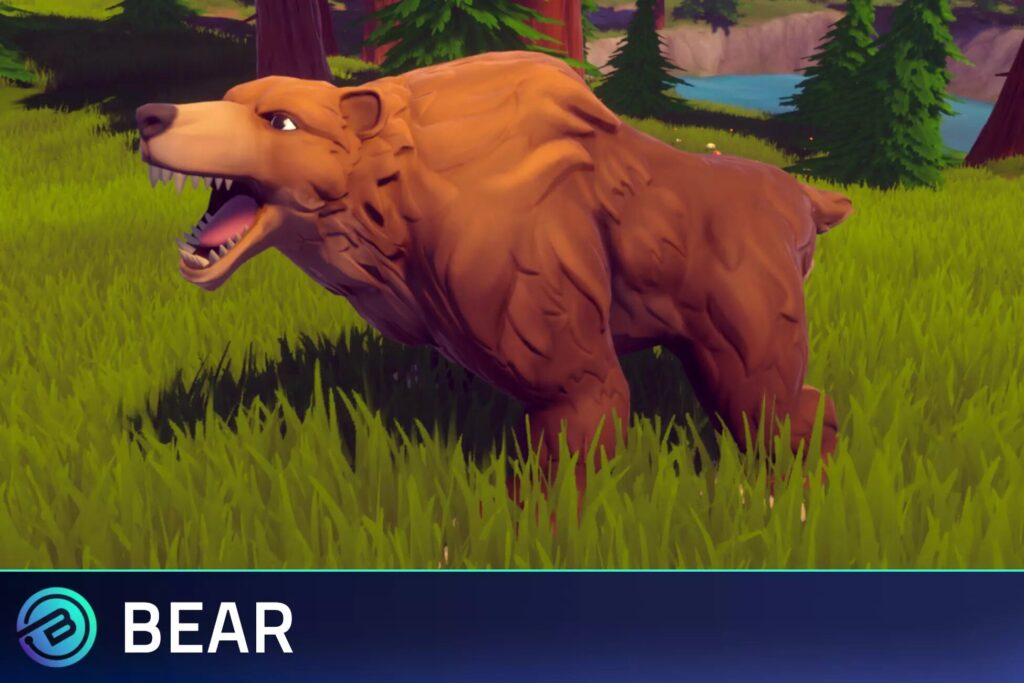
It doesn’t look bad, but comparing the Bakin version (right) with the original in Unity (left), there is some visible quality loss.
This is partly a resolution difference, but also because Bakin’s material system simply applies the PNG as-is without more advanced shading. Setting up appropriate shaders might bring the quality closer to Unity—but that’s beyond my expertise, so I’ll leave it to those who know more.
That covers the process of importing animated Unity assets into Bakin. Let me also introduce some free assets I’ve personally tried.
Free Animated Unity Assets Worth Trying
The walkthrough used one asset as an example, but there are many more free animated Unity assets available. Here are some I’ve imported and tested—feel free to try any that interest you.
For assets not listed here, the following criteria should allow import into Bakin (paid or free):
- The license (terms of use) permits use in other software → “Standard Unity Asset Store EULA” means standard terms, so repurposing is fine
- The asset contains FBX files → Check “Package Contents” on the asset page to confirm FBX files are present
- The model displays correctly after importing into Bakin → Some assets may have broken joints; test before committing
Some assets trigger import warnings in Bakin. Handle those at your own discretion—I typically import and check if the effect seems minor.
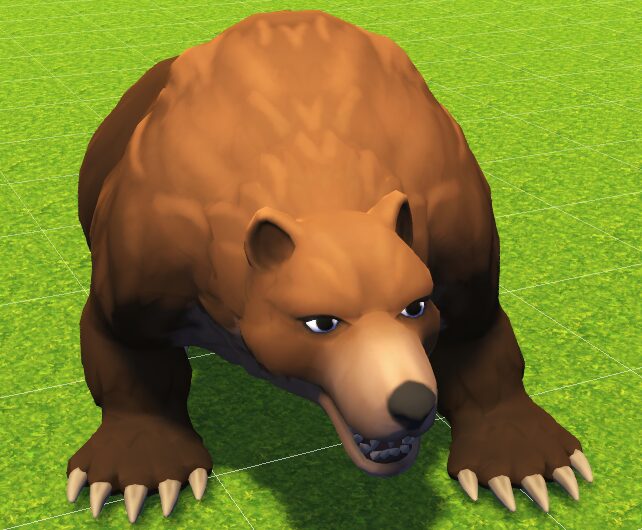
FREE Stylized Bear - RPG Forest Animal
The bear from this walkthrough is worth mentioning again. It fits naturally in most game settings, and comes with numerous attack animations, making it well-suited as an enemy character.
It also has multiple idle animations for use as a normal wildlife encounter. Its lack of a strong visual identity works in its favor—it’s versatile enough to drop into a project and decide how to use it later.
PBR Animated Dinosaurs
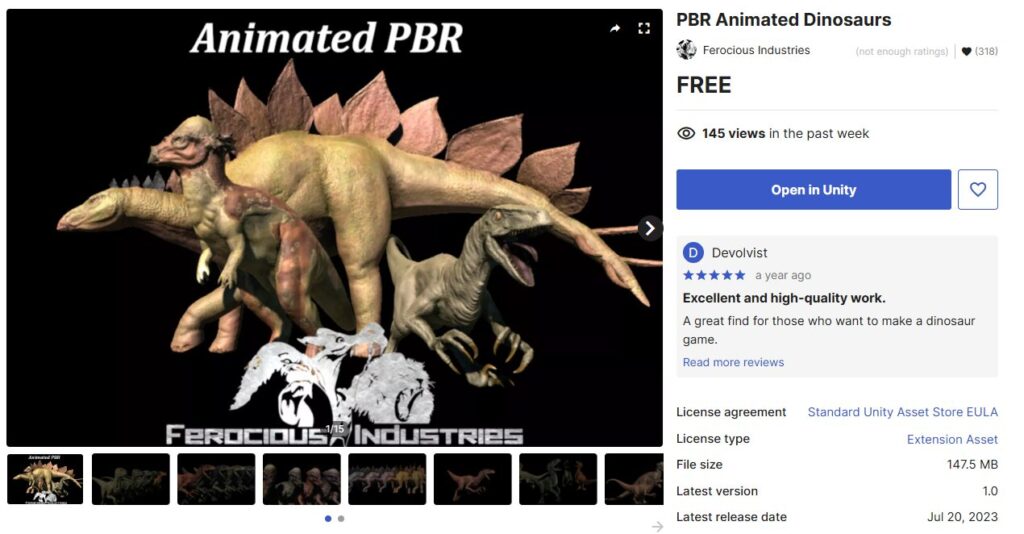
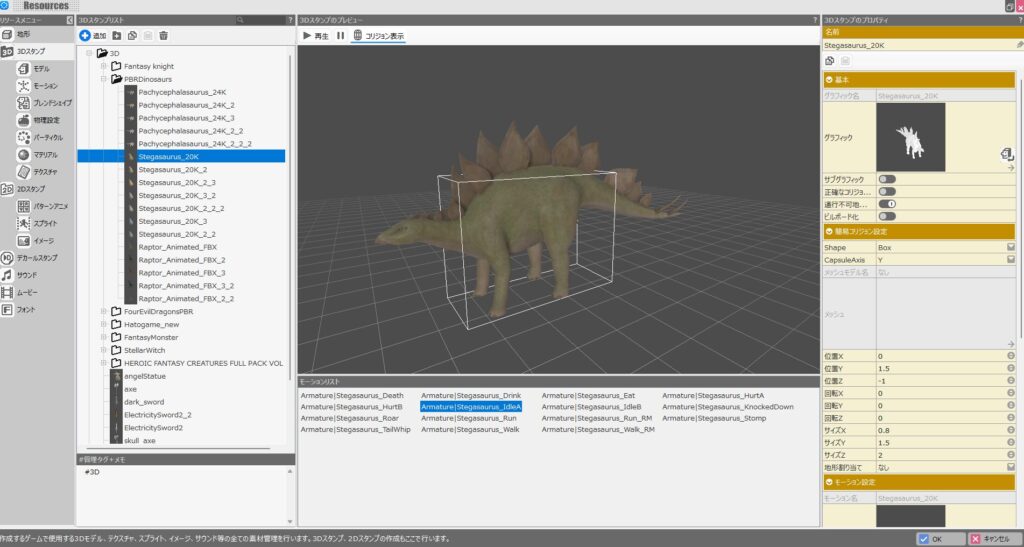
A much more distinctive option than the bear, “PBR Animated Dinosaurs” includes three dinosaur models: Pachycephalosaurus, Stegosaurus, and Raptor—each with their own animations.
Surprisingly, the asset offers a good number of animations and color variants, making it quite practical—though the number of games calling for dinosaurs is naturally limited.
Note that for this asset, the model and animation FBX files are combined, so selecting the model FBX in the motion setup step automatically includes all animations.
One issue in my environment: the Raptor faces the opposite direction compared to the other two. If you encounter the same problem, keep it in mind when using it.
01_Monster: Lizard
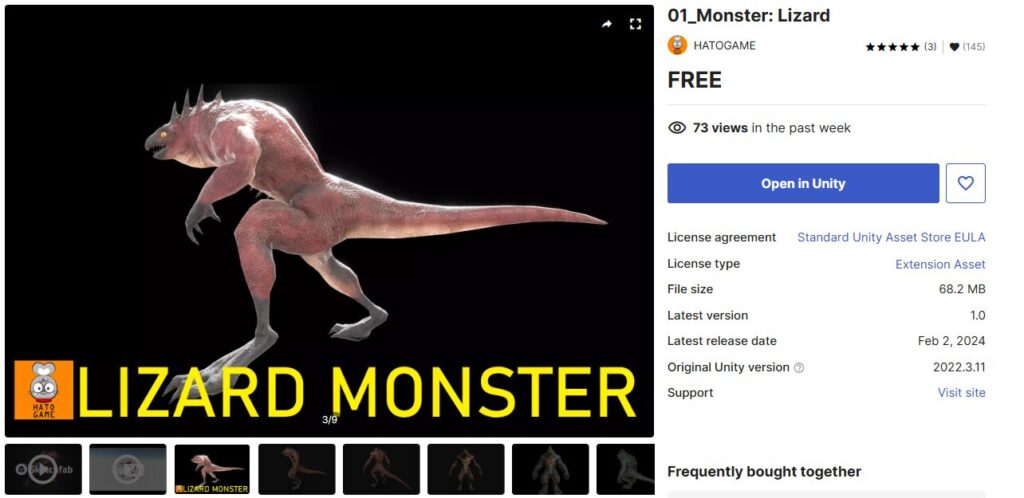
A highly recommended option for enemy characters—“01_Monster: Lizard” is a straightforward lizardman monster. The animation count is modest, but enough for combat use.
The result after importing into Bakin looks a bit ambiguous as to whether it’s a lizardman or something else, but it reads clearly enough as a monster enemy.
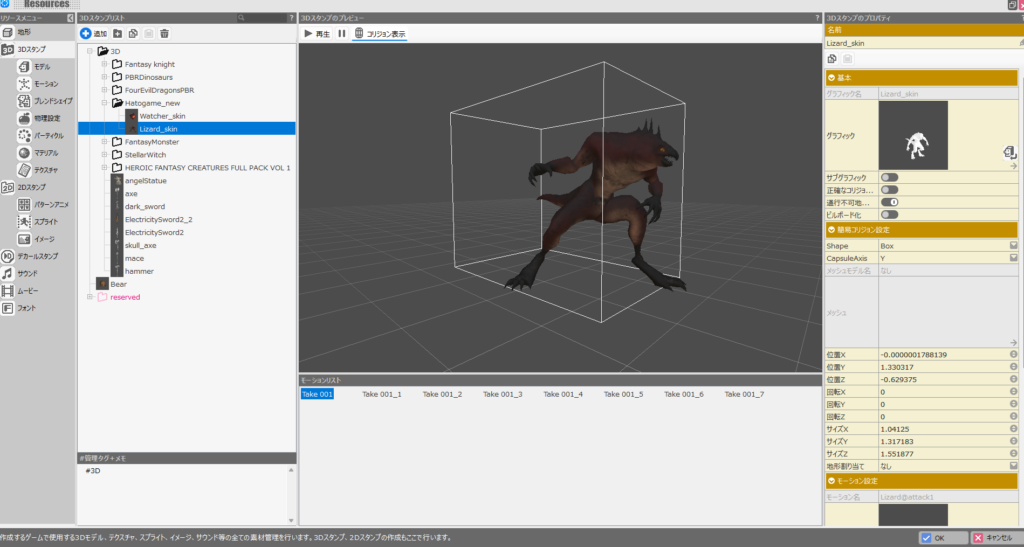
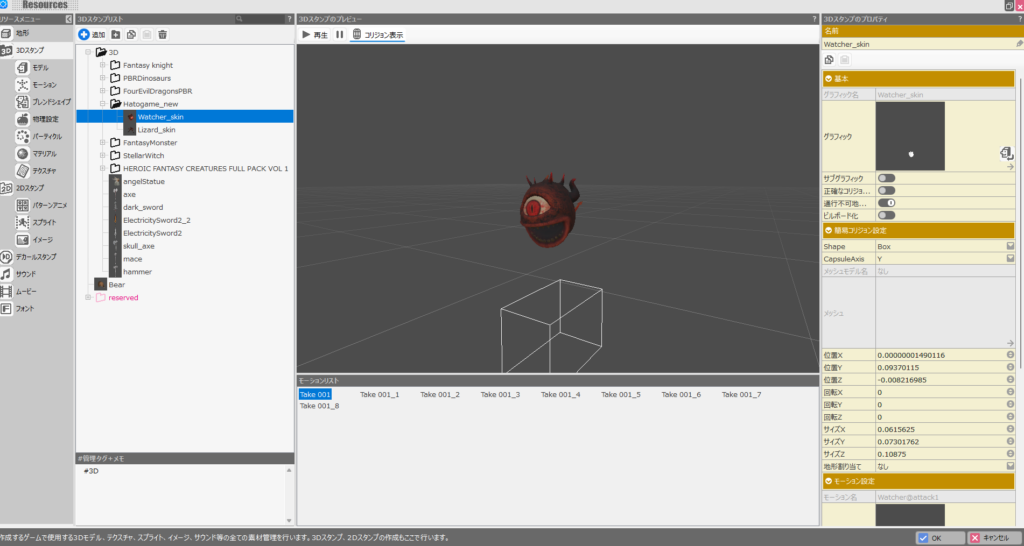
01_Monster: Watcher
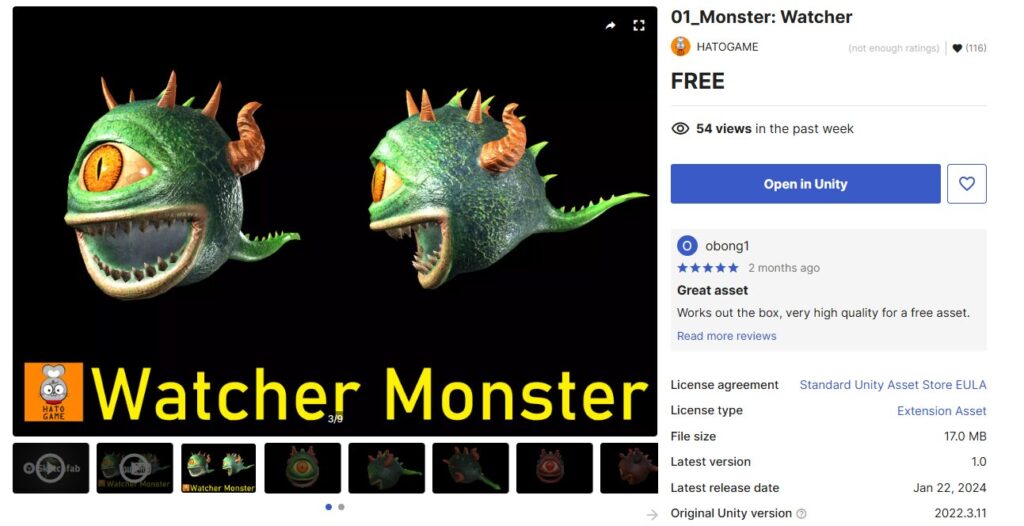
From the same creator as the Lizard, “01_Monster: Watcher” is an eyeball-type monster model.
Like the Lizard, the animation count is on the lower end, but there’s enough for combat use. It’s easy to drop in as an enemy character.
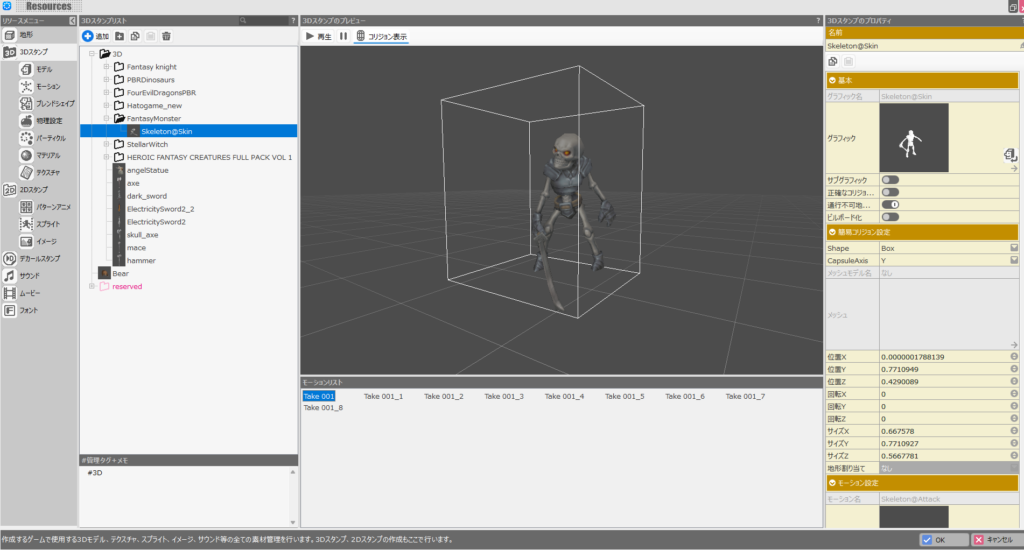
Fantasy Monster - Skeleton
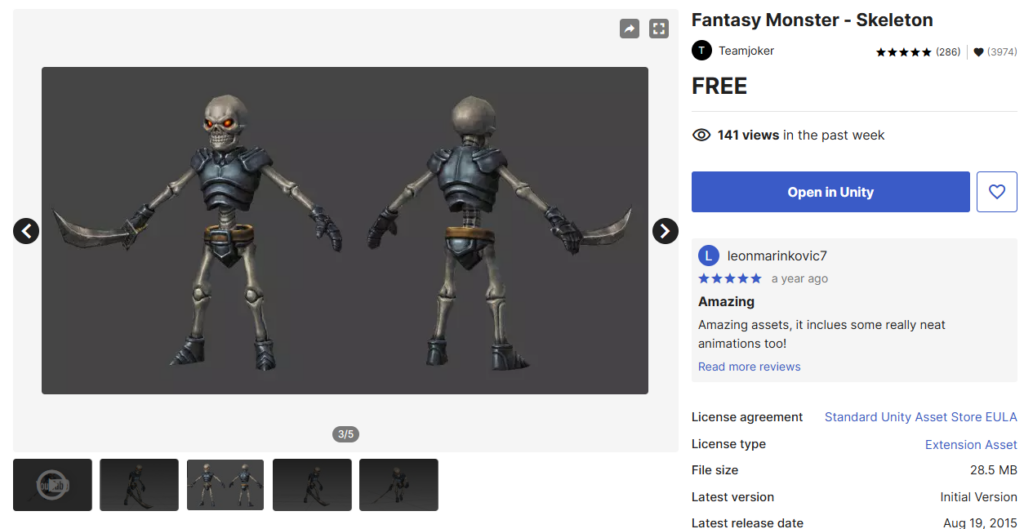
“Fantasy Monster - Skeleton” is another model that works well as a game enemy. The animation count is minimal, but the essential combat animations are there.
It’s particularly well-suited as an early-to-mid game enemy character.
Dragon for Boss Monster : HP
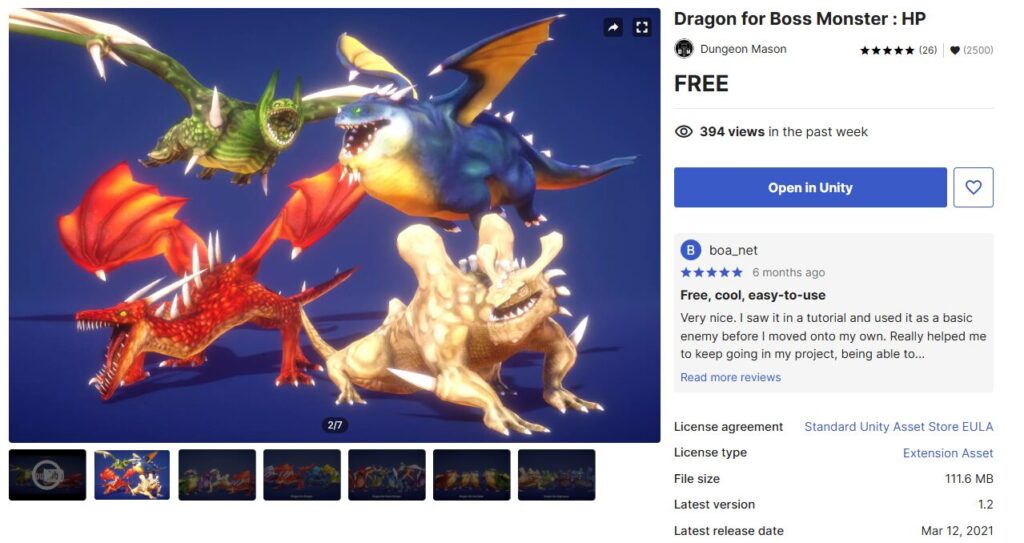
“Dragon for Boss Monster : HP” is so high quality you’d question whether it’s really free—a set of four dragons. The models look great, and each comes with a generous number of animations, making them entirely convincing as boss monsters.
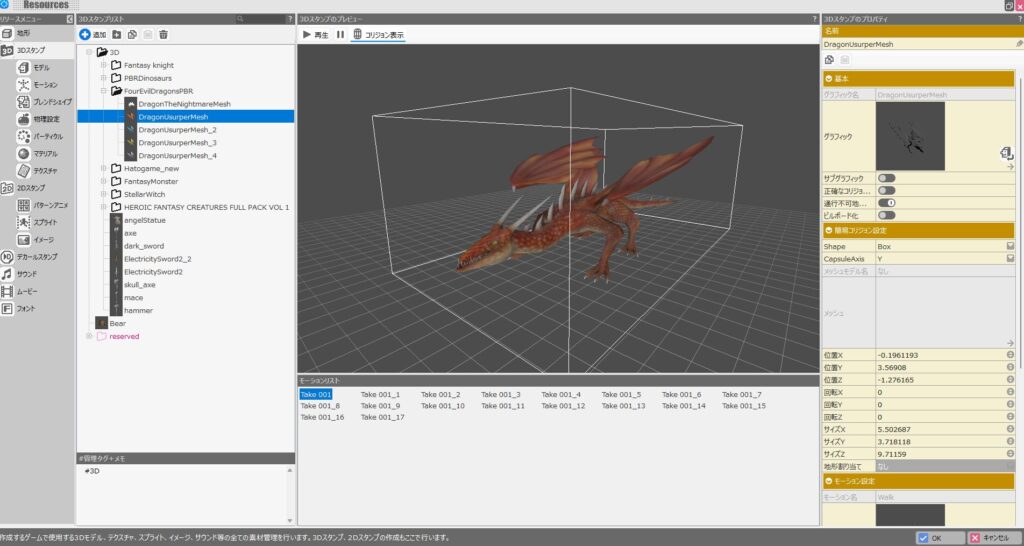
However, of the four, only “DragonUsurper” imported into Bakin cleanly in my testing. The other three had model issues that would require Blender to fix.
That said, one usable dragon that imports directly is still worth downloading.
Modular Fantasy Knight Character
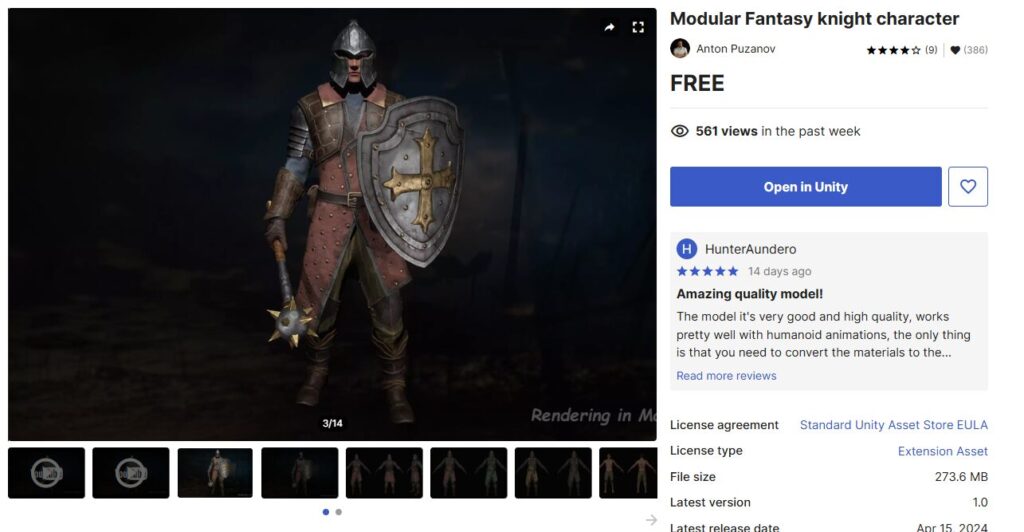
Last up is something a bit different—the “Modular Fantasy Knight Character.”
It’s a medieval knight model, which limits which game settings it fits, but there’s a reason I’m including it here.
This asset has no animation FBX files included. That sounds like a deal-breaker for Bakin use, but the key detail is that the model is human-shaped.
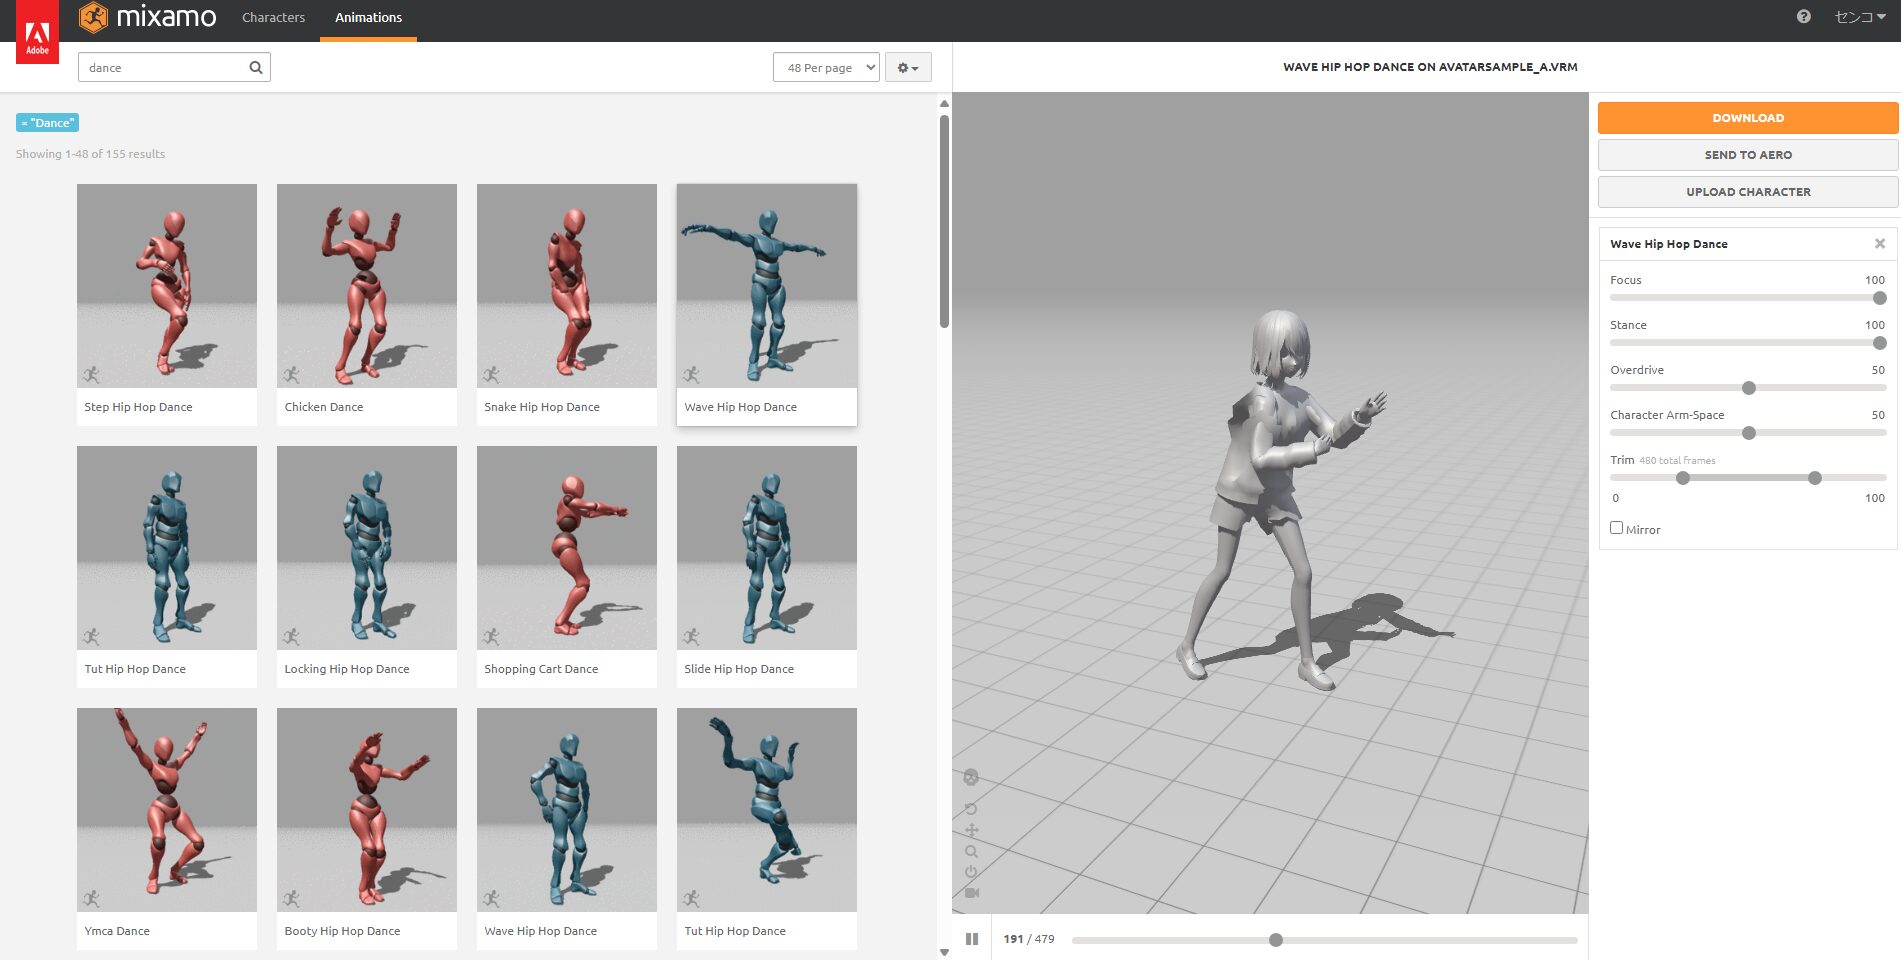
As covered in the VRoid articles, human-shaped models can have animations added via Mixamo. This asset is no exception—and this applies to any human-shaped model, not just this one. Remember that for human characters, animation FBX files aren’t strictly required.
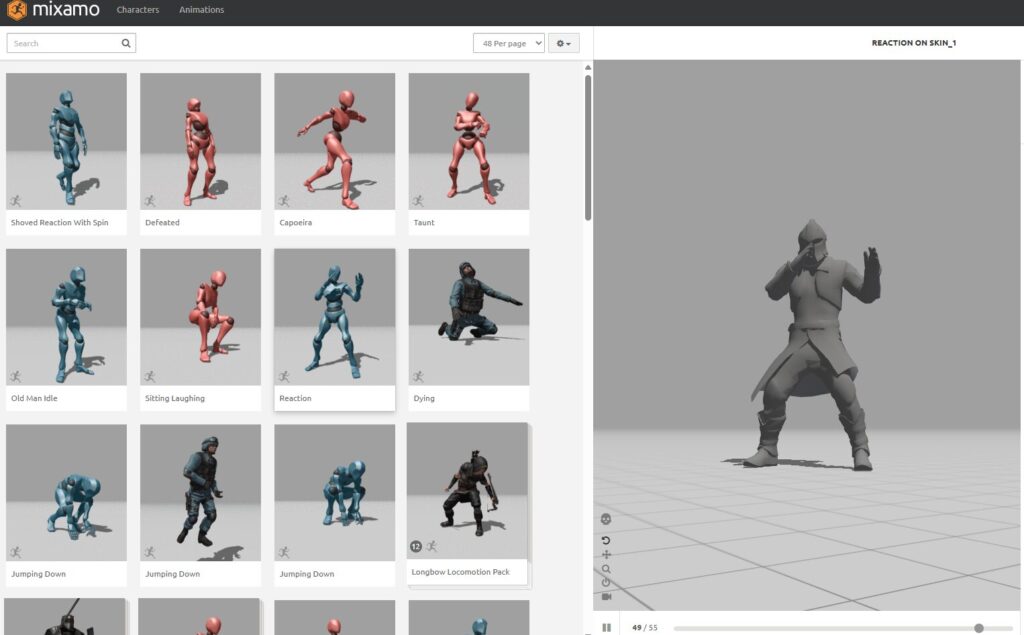
For how to add Mixamo animations to a model in Bakin, see the article below. The process is the same as with VRoid—just upload the Unity asset’s model FBX to Mixamo instead.
Summary
Honestly, I was genuinely surprised when I discovered that Bakin could now import Unity assets directly. Being able to bring in Unity assets this easily—animations included—is a massive expansion in available content for Bakin.
The Blender workflow from my earlier article wasn’t difficult per se, but it was time-consuming. And the mere requirement to use Blender was enough to put off many beginners who might otherwise have tried importing Unity assets.
With that barrier gone, this discovery feels significant. I hope more people take advantage of Unity’s extensive asset library to raise the quality of their Bakin projects.
I’d also like to use this opportunity to thank the creators of the free assets introduced in this article—your generosity is genuinely appreciated.
This article serves as a personal reference so I don’t forget the steps—I hope it helps someone else too. I’ll continue covering how to build games in Bakin going forward—check back if you’re interested.
📚 Series: RPG Maker Bakin: Game Development Guide (13/17)