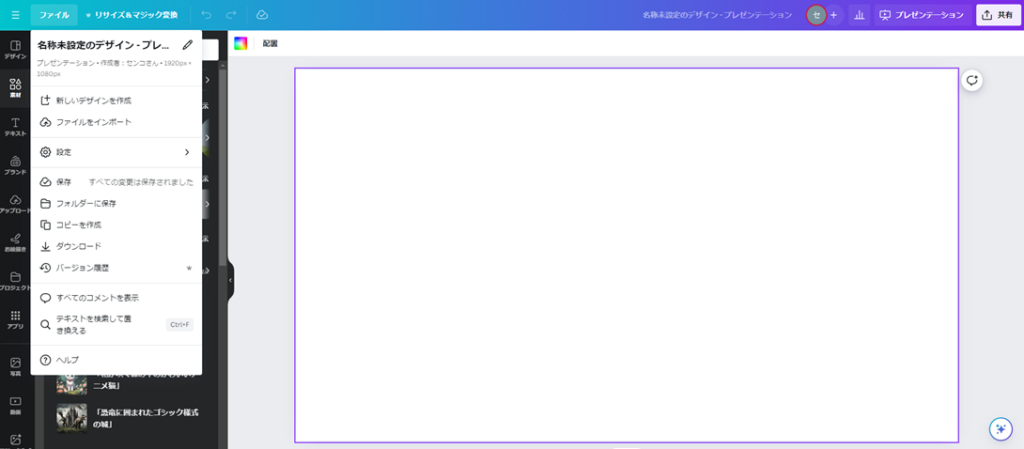
Introduction
This article covers four core Canva features: photo editing, adding text, text effects, and Animate. If you’re completely new to Canva, I recommend starting with the beginner introduction article first:
Photo Editing
One of Canva’s most powerful features is its photo editing capabilities. And it’s not just editing — you can also create new images from scratch.
In practice, the most common use case is editing photos you’ve taken. This section walks through how to edit a photo you’ve taken on your phone or camera.
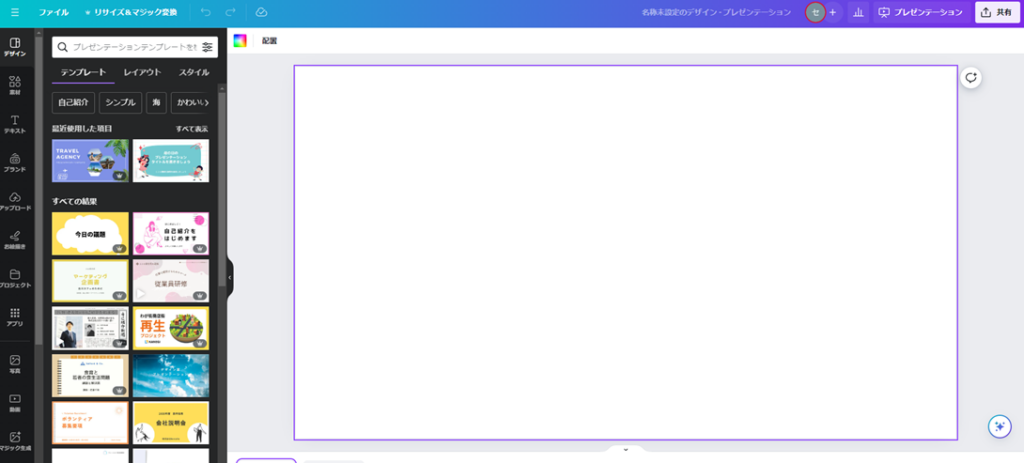
First, choose a canvas size. For landscape (horizontal) photos, “Presentation (16:9)” works well. For portrait (vertical) shots, try “Flyer.” For square images, “Instagram Post (Square)” is a natural fit.
The canvas opens:
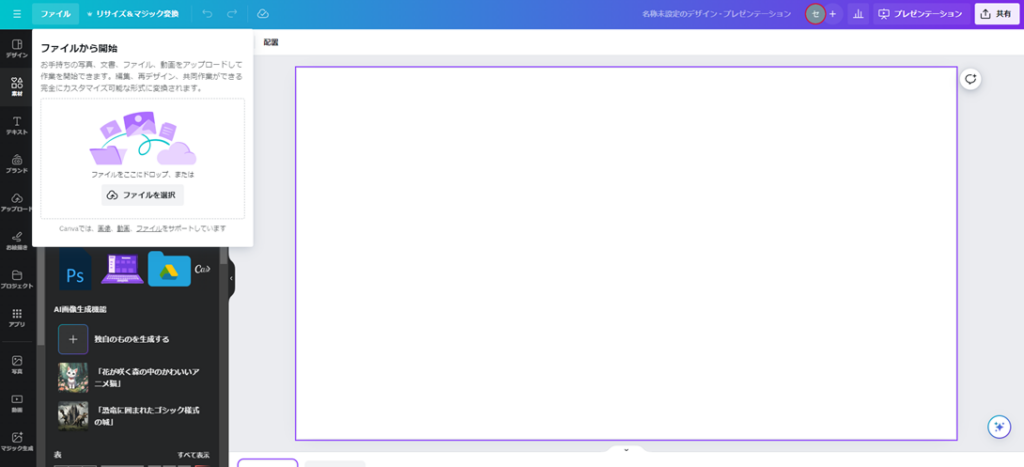
Now import your photo. I sync my phone photos to OneDrive, so I can access them from my PC directly. If you don’t have that set up, transfer the photo from your phone to your computer first — or use the Canva mobile app to edit directly on your phone.
To import: click “File” → “Import file” in the upper left.
Browse to your photo and select it, or drag and drop it into the import area.
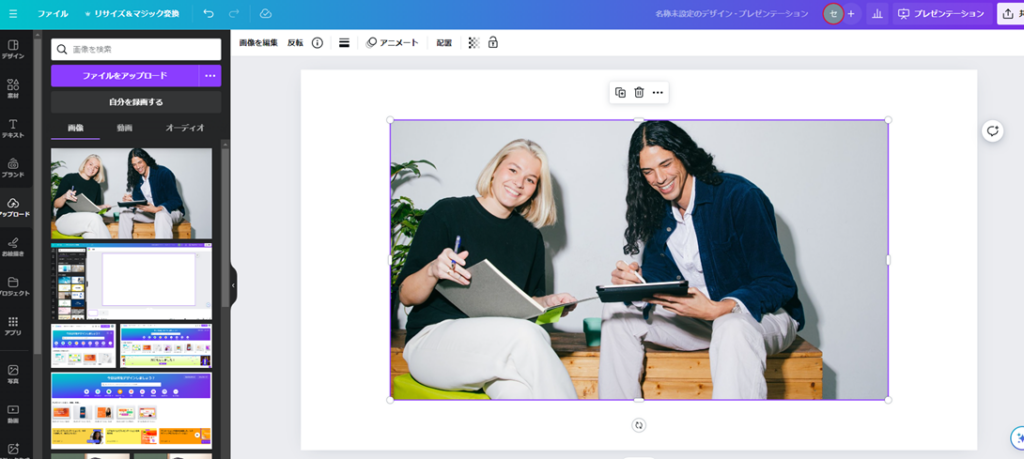
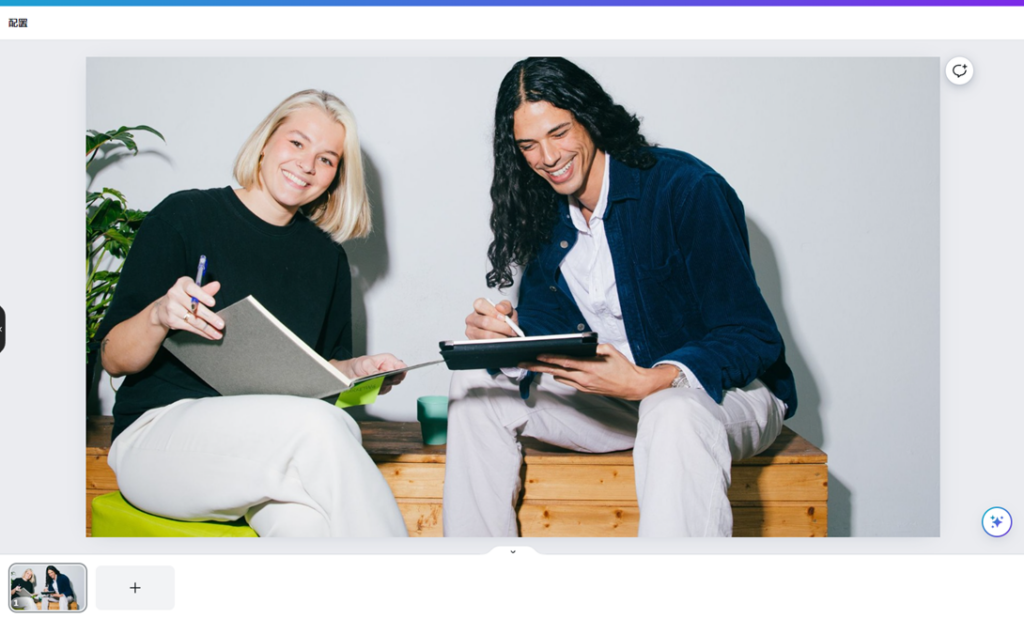
The imported photo appears as a thumbnail on the left panel. Click it to place it on the canvas.
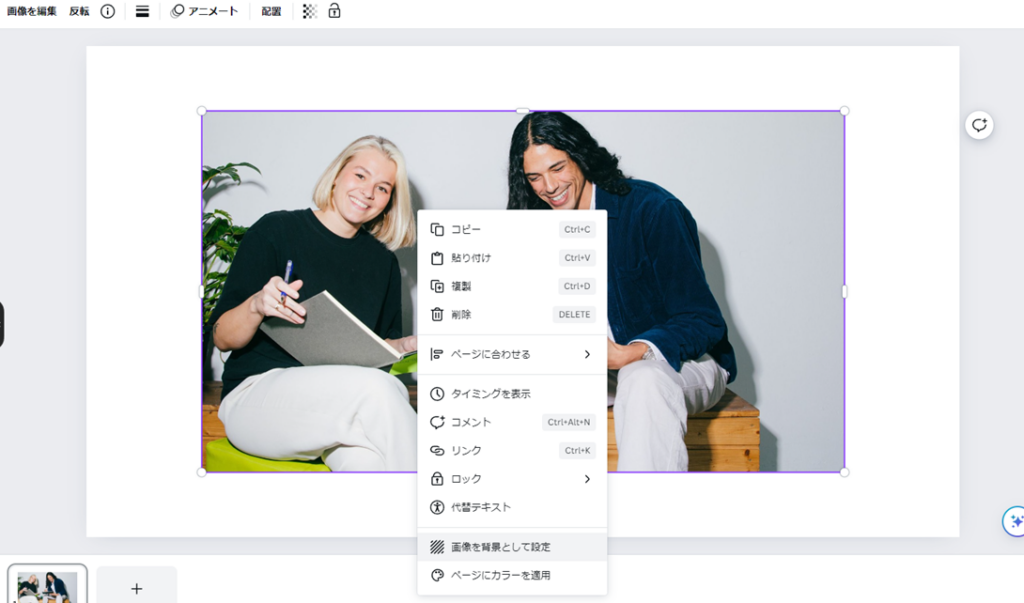
The canvas and photo sizes may not match. To fit the photo to the canvas quickly: right-click the photo and select “Set image as background.”
The photo scales to fill the canvas. Note: if the aspect ratios are very different, the edges may be cropped.
Now click the photo to select it. You’ll see “Edit photo” appear in the upper left.
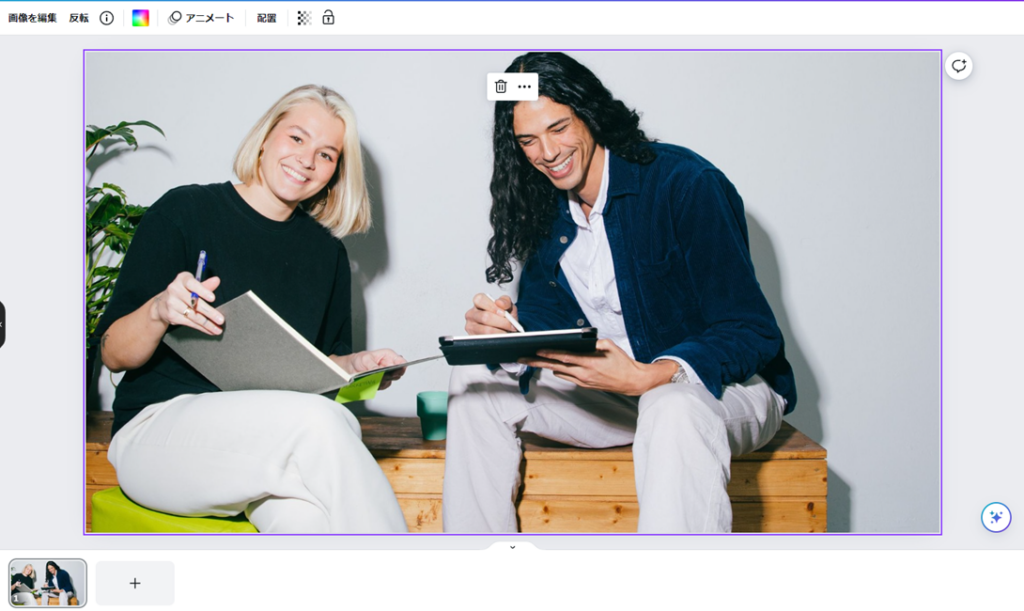
Click “Edit photo” to open the editing panel with many available options:
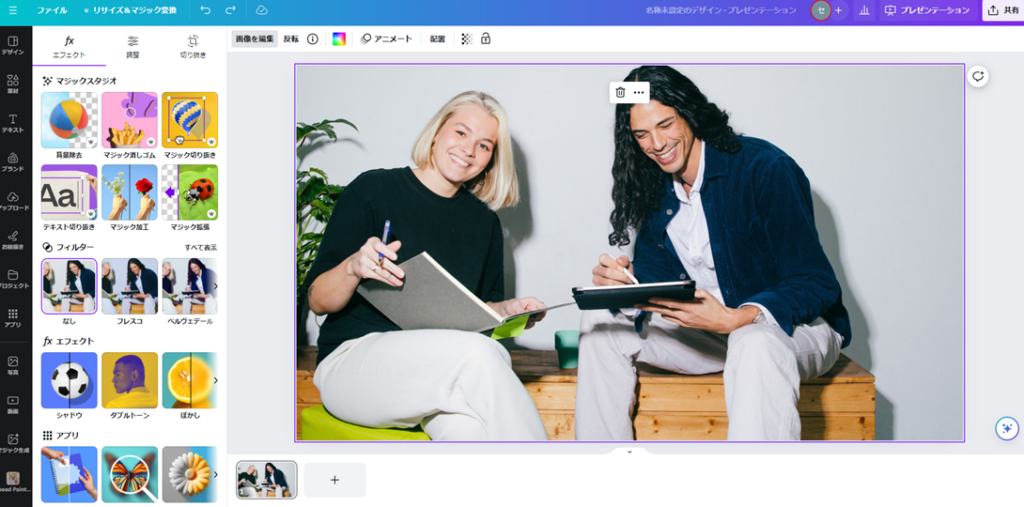
“Magic Studio” at the top refers to AI-powered editing tools. For details on those, see:
For this example, I’ll use the Duotone effect under “Effects.” Select “Duotone,” then choose “Custom” within it to apply the effect to your photo.
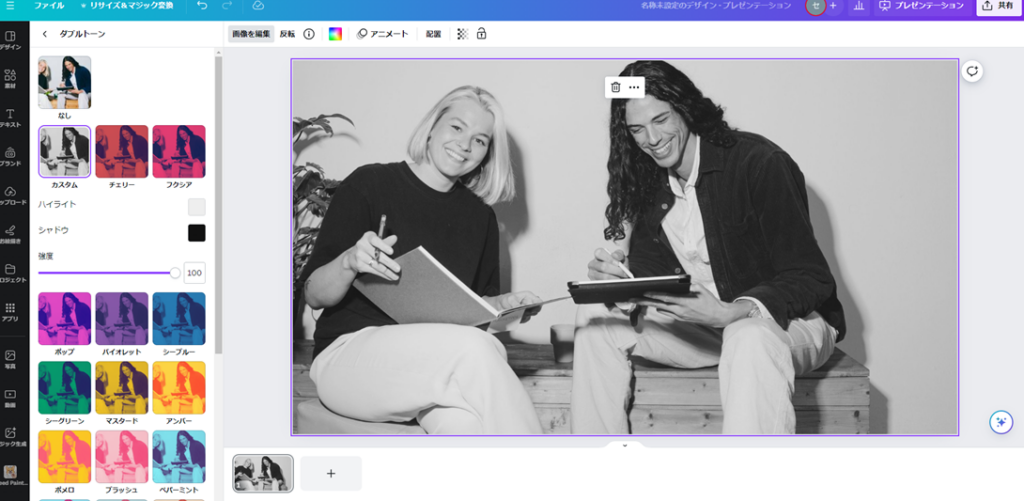
The photo takes on a monochrome-like appearance. The “Edit photo” section contains many other powerful editing tools — too many to cover here individually, but working through the key ones will significantly expand what you can do with Canva.
Adding Text
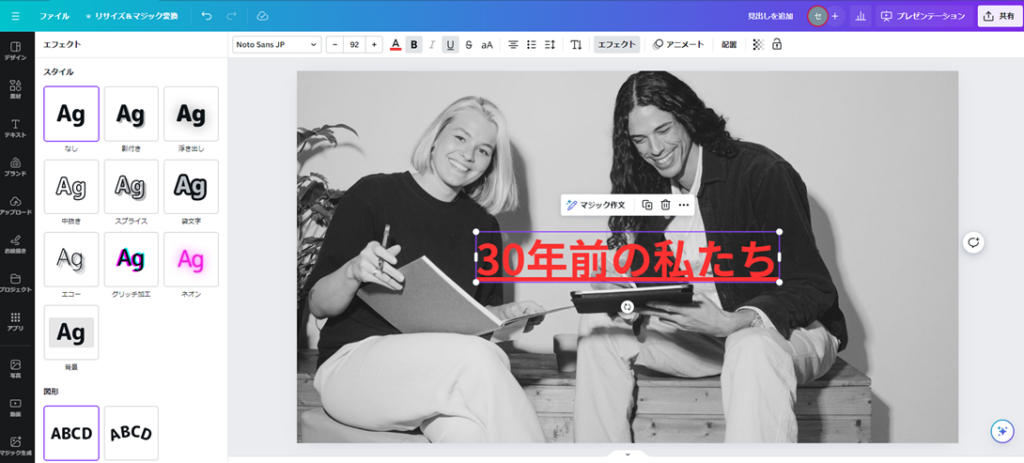
To add text to your edited image, select “Text” from the left panel, then click “Add a heading.”
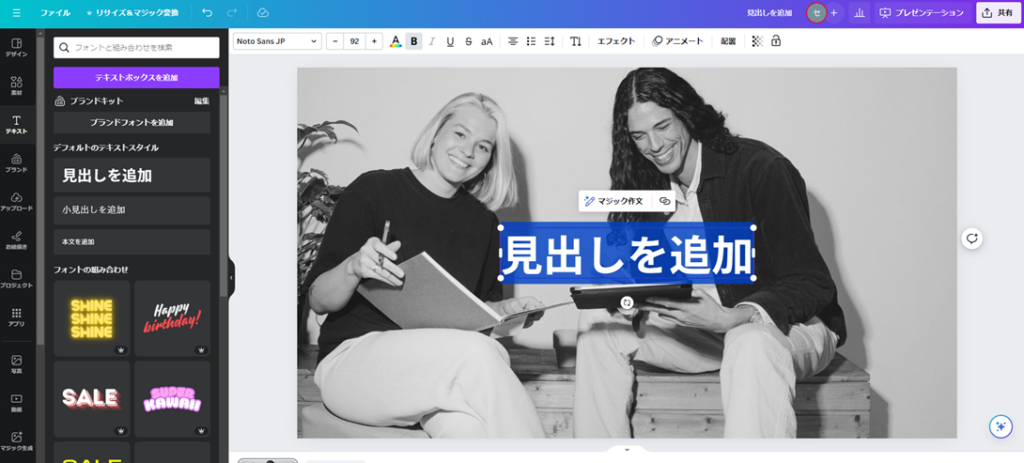
A “Add a heading” placeholder text appears in the center of the canvas. Click it and type whatever you want.
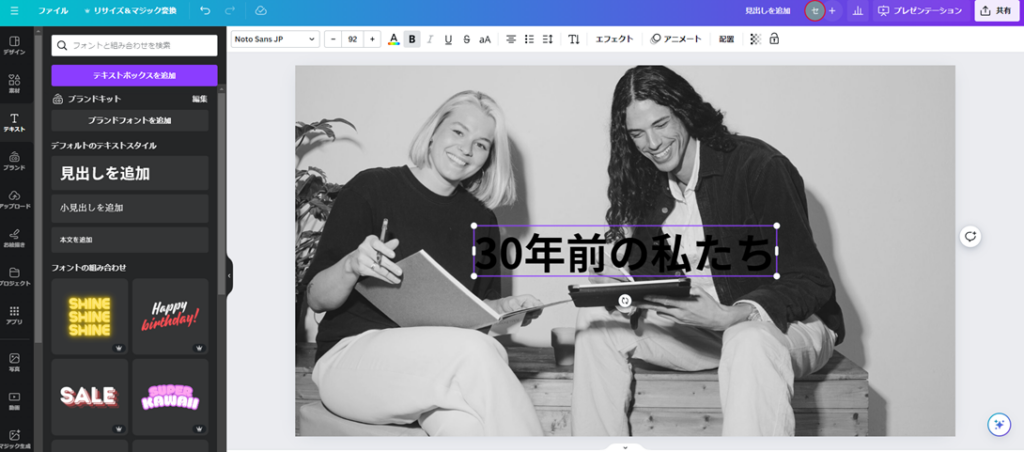
The text is now on the canvas. You can drag it to any position. Text color, font, font size, and other properties can all be adjusted — click the text to see editing options appear in the toolbar at the top of the canvas.
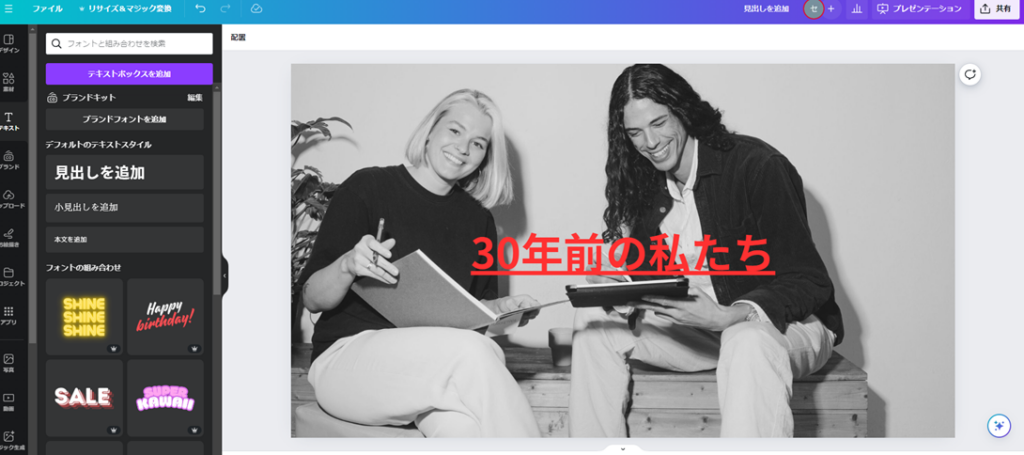
Here I’ve changed the font color and added an underline:
With this, you can freely overlay text on any image. Save the result using the download method described in the beginner introduction article.
Text Effects
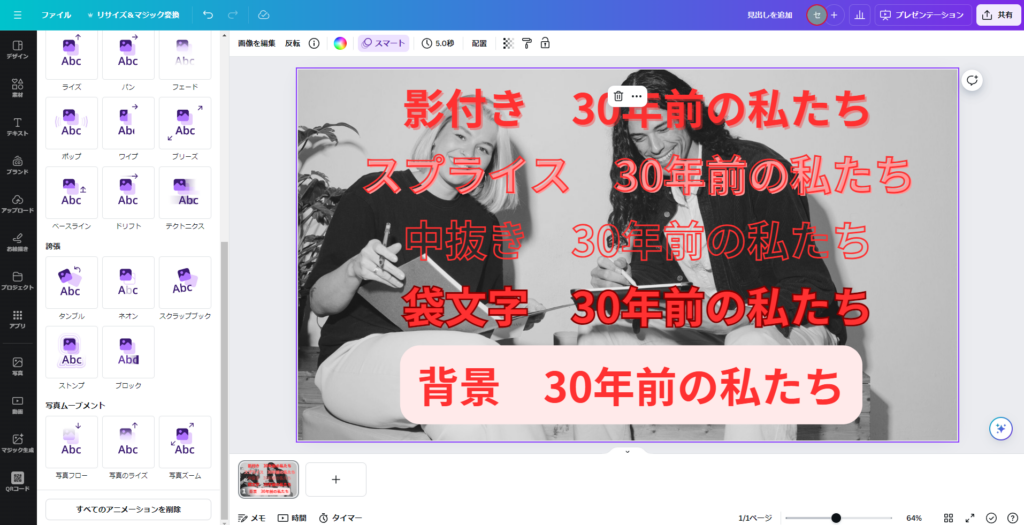
Beyond just changing fonts and colors, Canva lets you apply effects to text. With text selected, click “Effects” in the toolbar at the top of the canvas and choose from the available options.
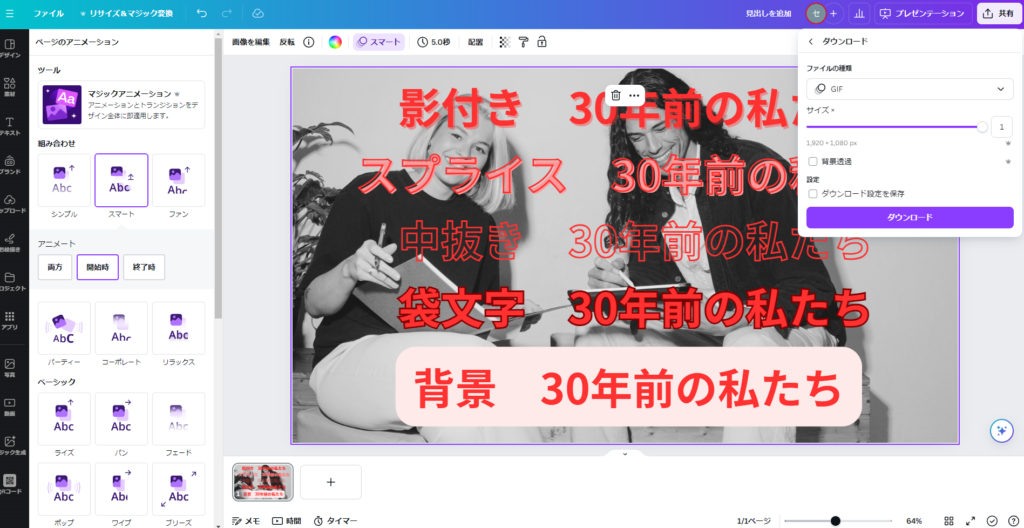
Here’s a preview of what each effect looks like:
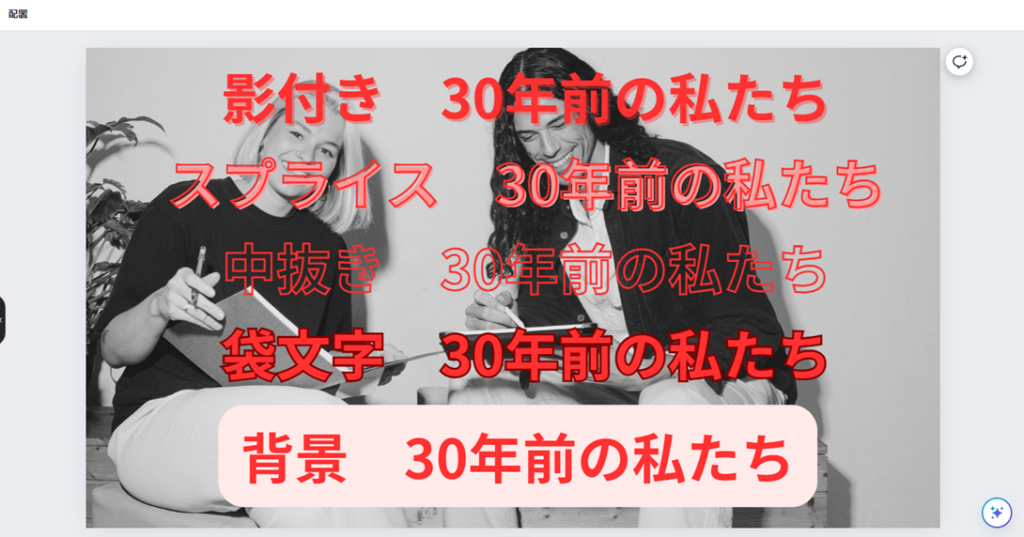
The most useful effect is Outline (袋文字). Outline adds a contrasting border around your text, making it stand out clearly against any background — even busy or colorful images. This is the effect I use most often.
After that, Background and Splice are also frequently useful. Which works best depends on personal preference and the image you’re working with. As a starting point: reach for Outline whenever you want text to be clearly readable over an image.
Animate
Canva’s Animate function adds motion (animation) to your text, images, or entire pages.
There are two ways to use it:
- Apply animation to the entire page
- Apply animation to specific text or image elements
Animating the Entire Page
Click anywhere on the canvas that doesn’t contain an element — this selects the canvas itself. Then click “Animate” in the toolbar at the top.
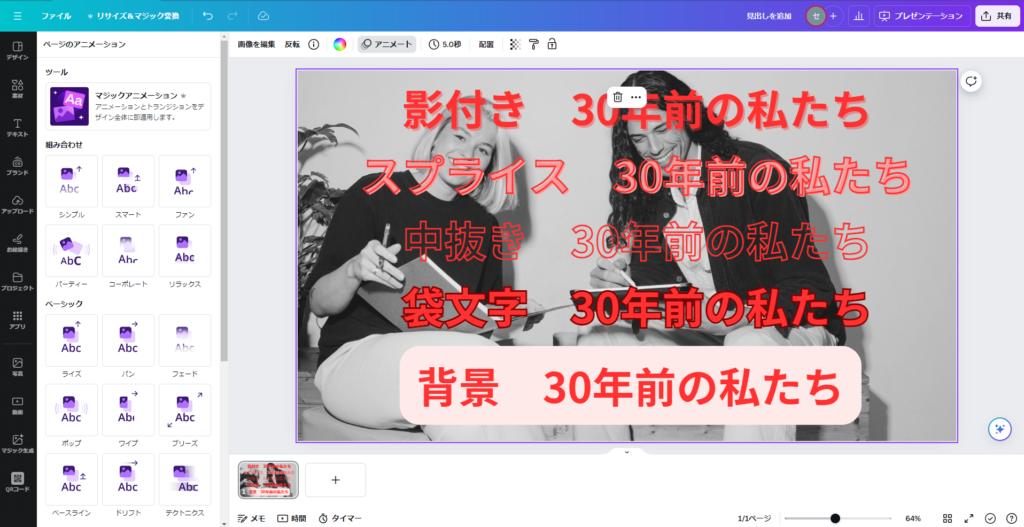
A panel of animations appears on the left. Hover over any animation to preview it on the canvas without playing the full video.
I’ll select “Smart” for this example.

Below the animation selection, you’ll see timing options:
- Enter — elements start hidden and animate into view
- Exit — elements are visible and animate out to disappear
- Both — elements animate in, then animate out
The default “Enter” setting works for most use cases.
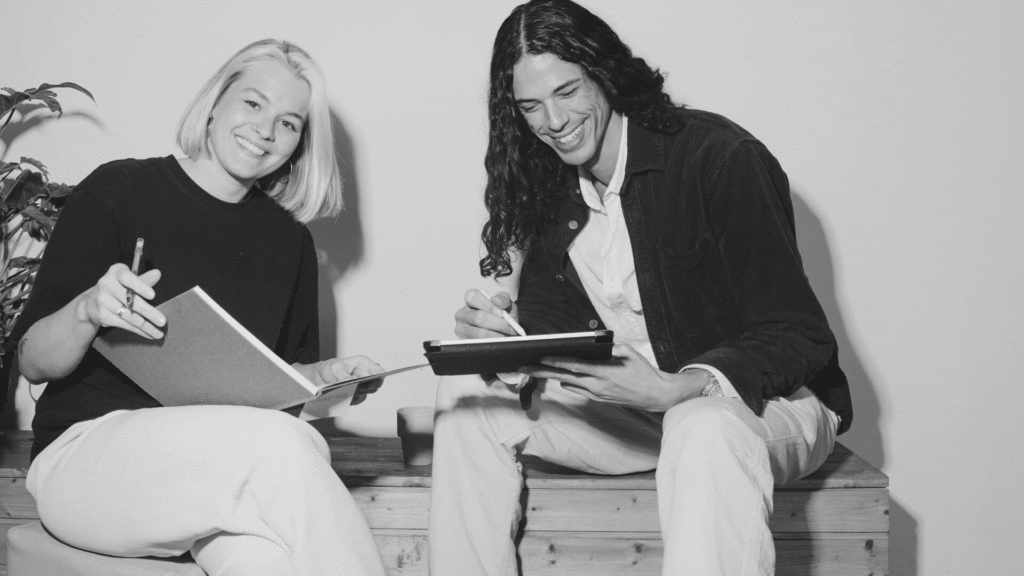
Here’s the result with “Smart” → “Enter”:
Important: Animated images must be downloaded as GIF files. Other file formats can’t represent motion — the animation will be lost. Always download to GIF format when you’ve added animations.
To download as GIF: click “File” → “Download,” select “GIF” from the file type dropdown, then click “Download.”
To remove animations, click the “Remove all animations” button at the bottom of the animation panel.
Animating Specific Elements
To animate only a specific text or image element, click that element to select it, then click “Animate” in the toolbar.
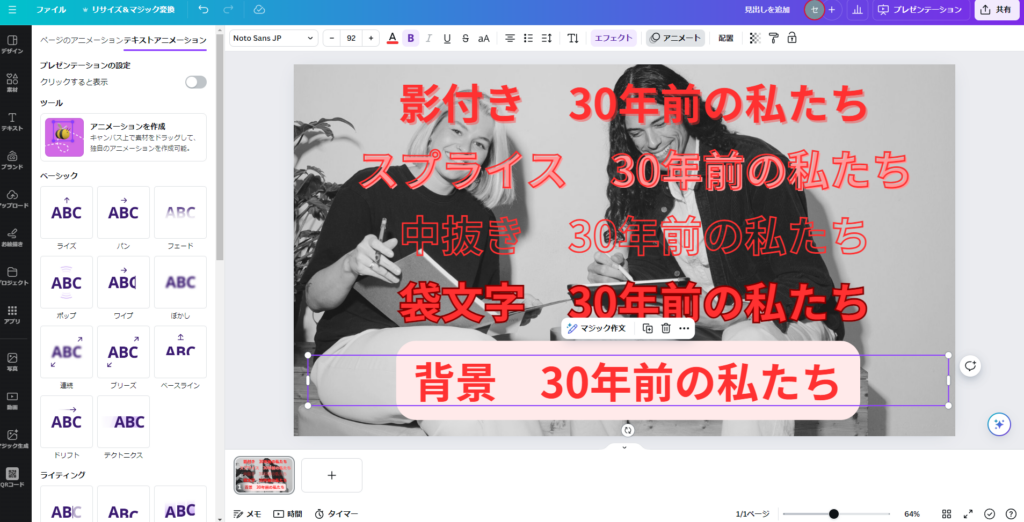
The available animation types are different from the page-level options, but the workflow is identical — preview each animation by hovering, select your favorite, and download as GIF to preserve the motion.
Summary
This article covered Canva’s photo editing, text addition, text effects, and Animate features. These are among Canva’s most foundational capabilities.
Once you’re comfortable with these tools, you’ll rarely hit a wall when working in Canva. Future articles will cover additional features — I hope they help you get more out of the tool.
For the beginner’s introduction to Canva, see below:
Canva for Beginners: How to Use It, AI Features, Free vs. Paid Plans