Equipping Weapons and Armor on a VRoid Imported into Bakin
Bakin’s major update Ver1.13 was released on December 18, 2024, introducing enhanced battle features and direct VRM format model imports.
Following that update, I wrote articles on how to import VRM files and how to add motions. This article builds on both of those.
The goal here is to equip the VRoid imported into Bakin with weapons and armor like swords and shields, and have them move with the character’s attack motions.
If you haven’t read the previous articles, check them out first:
There are several ways to equip items on a VRoid imported into Bakin:
- Use Bakin’s Sub-Graphics feature
- Use Bakin’s “Attach Model to Cast” event
- Import the FBX into separate software like Blender and merge there
Each has its own characteristics, but for this article I’ll use method 1—the Sub-Graphics feature.
The reason is that it’s both the easiest and the most versatile. Method 2 is essentially a limited version of method 1: it only works for the player, and it’s restricted to just the right and left hands.
Method 3 is the most flexible if you have sufficient knowledge of the external software, but mastering those tools requires a significant learning investment.
Compared to those, method 1 allows equipment not just on both hands, but also on the head, back, and other parts of the body. It works for characters other than the player, and everything is done within Bakin itself—making it the simplest choice.
For these reasons, I’ll be using Bakin’s Sub-Graphics feature to equip various items on the VRoid.
How to Add Sub-Graphics
Let’s walk through how to use the Sub-Graphics feature.
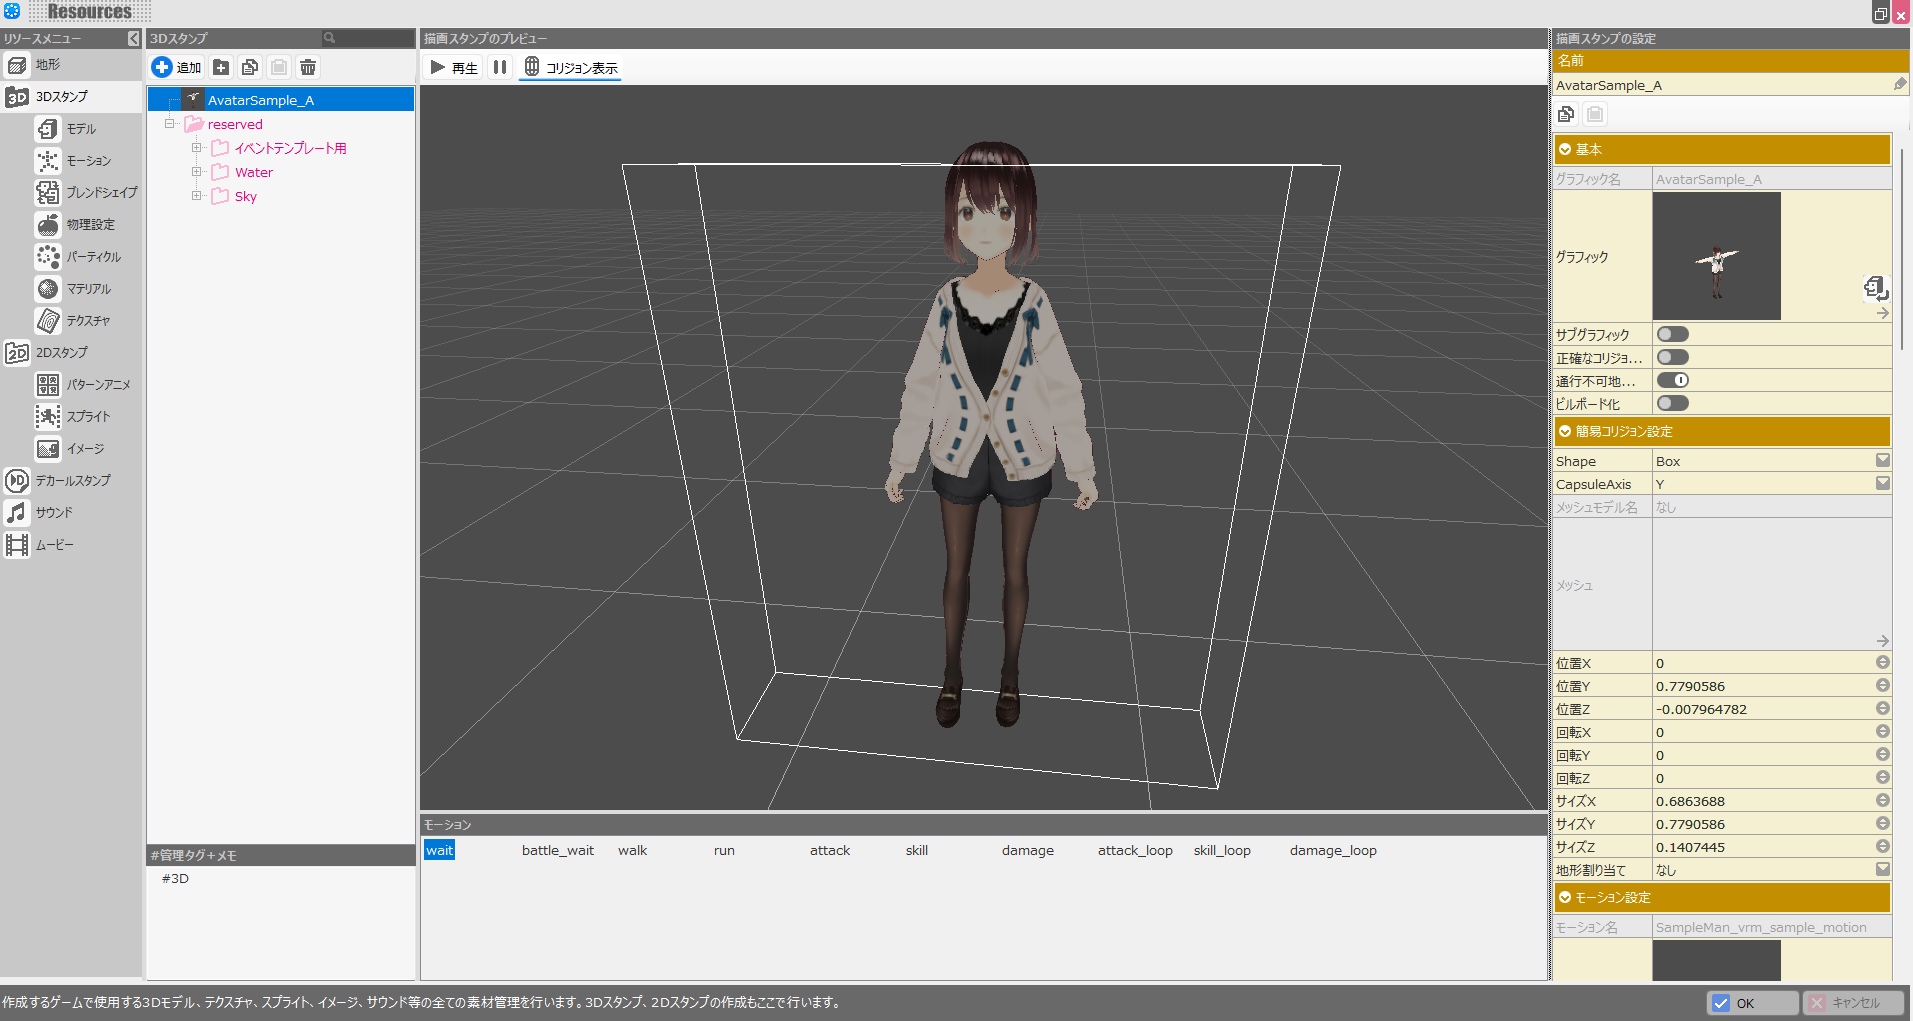
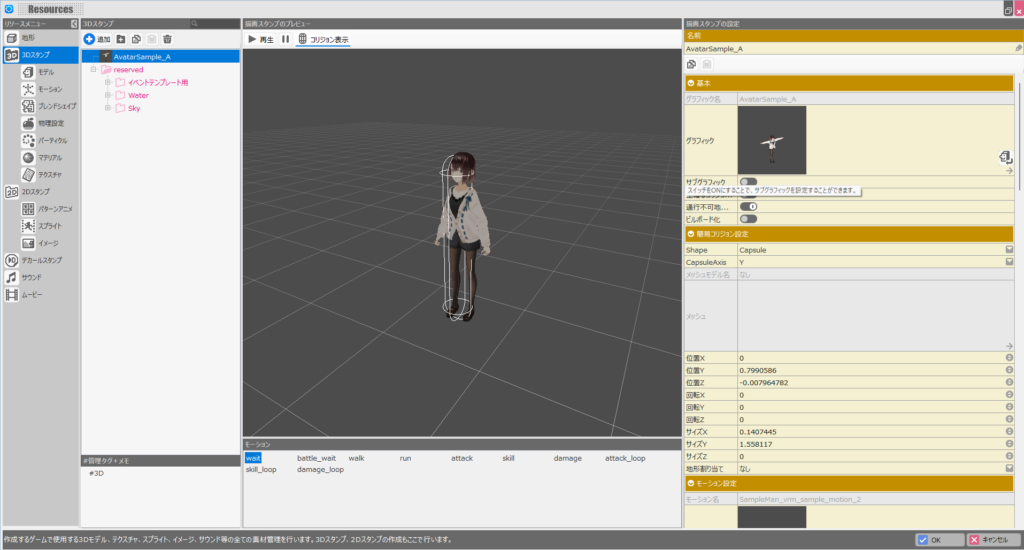
From Bakin’s master menu, select “Resources,” then select “3D Stamps” in the resource screen, and choose the VRoid character’s 3D stamp added in the previous articles.
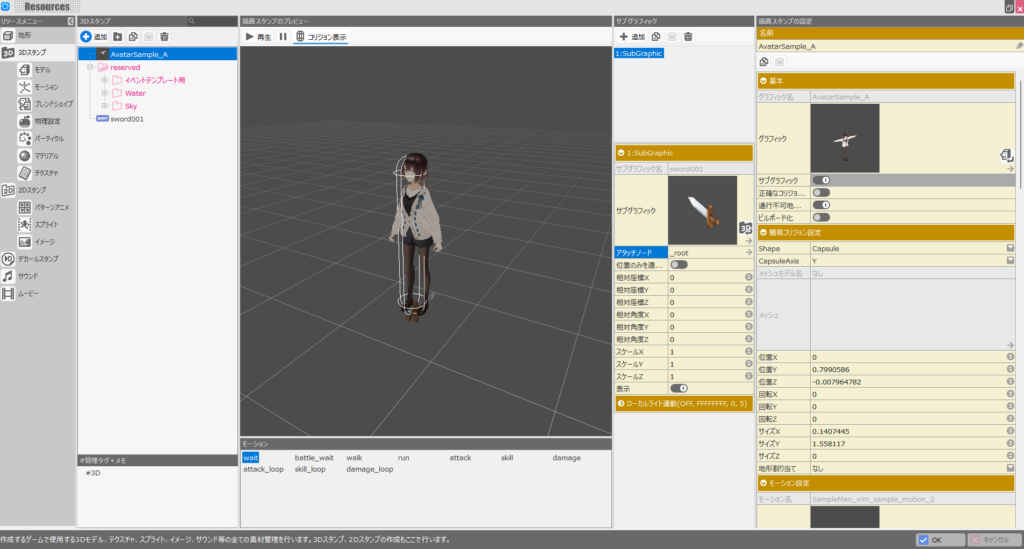
When the target 3D stamp is selected, a settings menu appears on the right. Find the “Sub-Graphics” toggle near the top and switch it ON.
A Sub-Graphics window will appear to the right of the preview. Click “Add” at the top of this Sub-Graphics window.
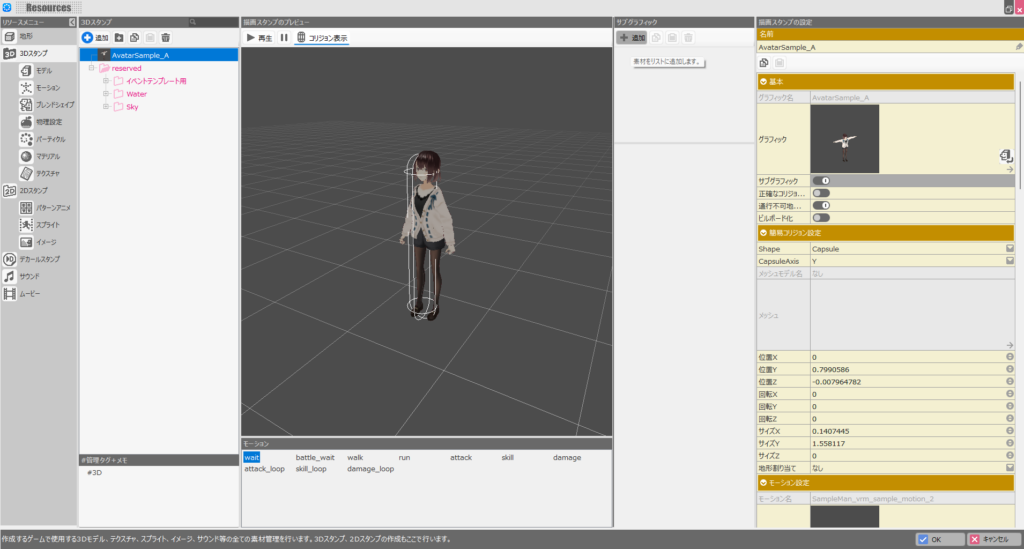
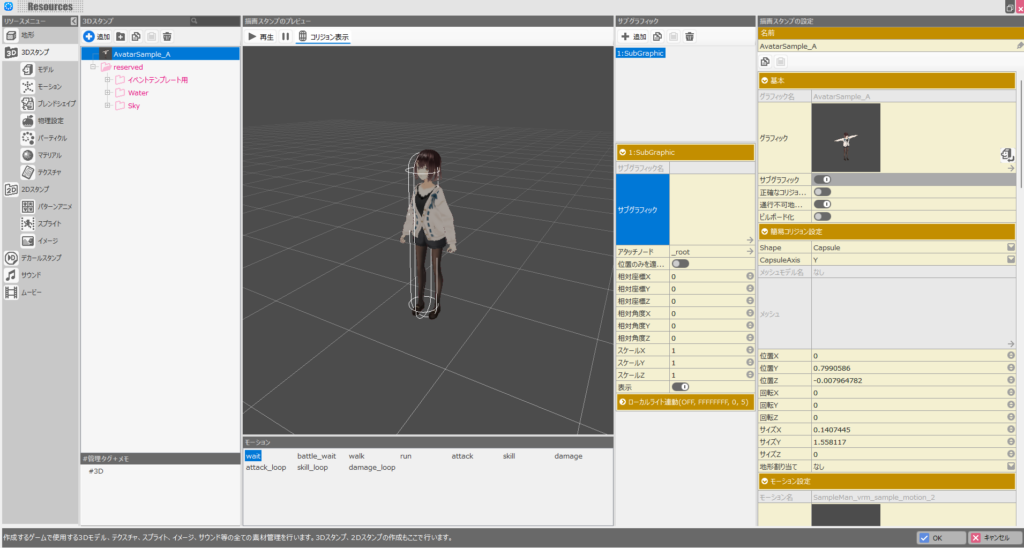
A sub-graphic entry has been added, but since no graphic is registered yet, nothing changes in the preview.
Click the “Sub-Graphic” field within the sub-graphic entry to add an image.
Clicking “Sub-Graphic” brings up a resource selection screen.
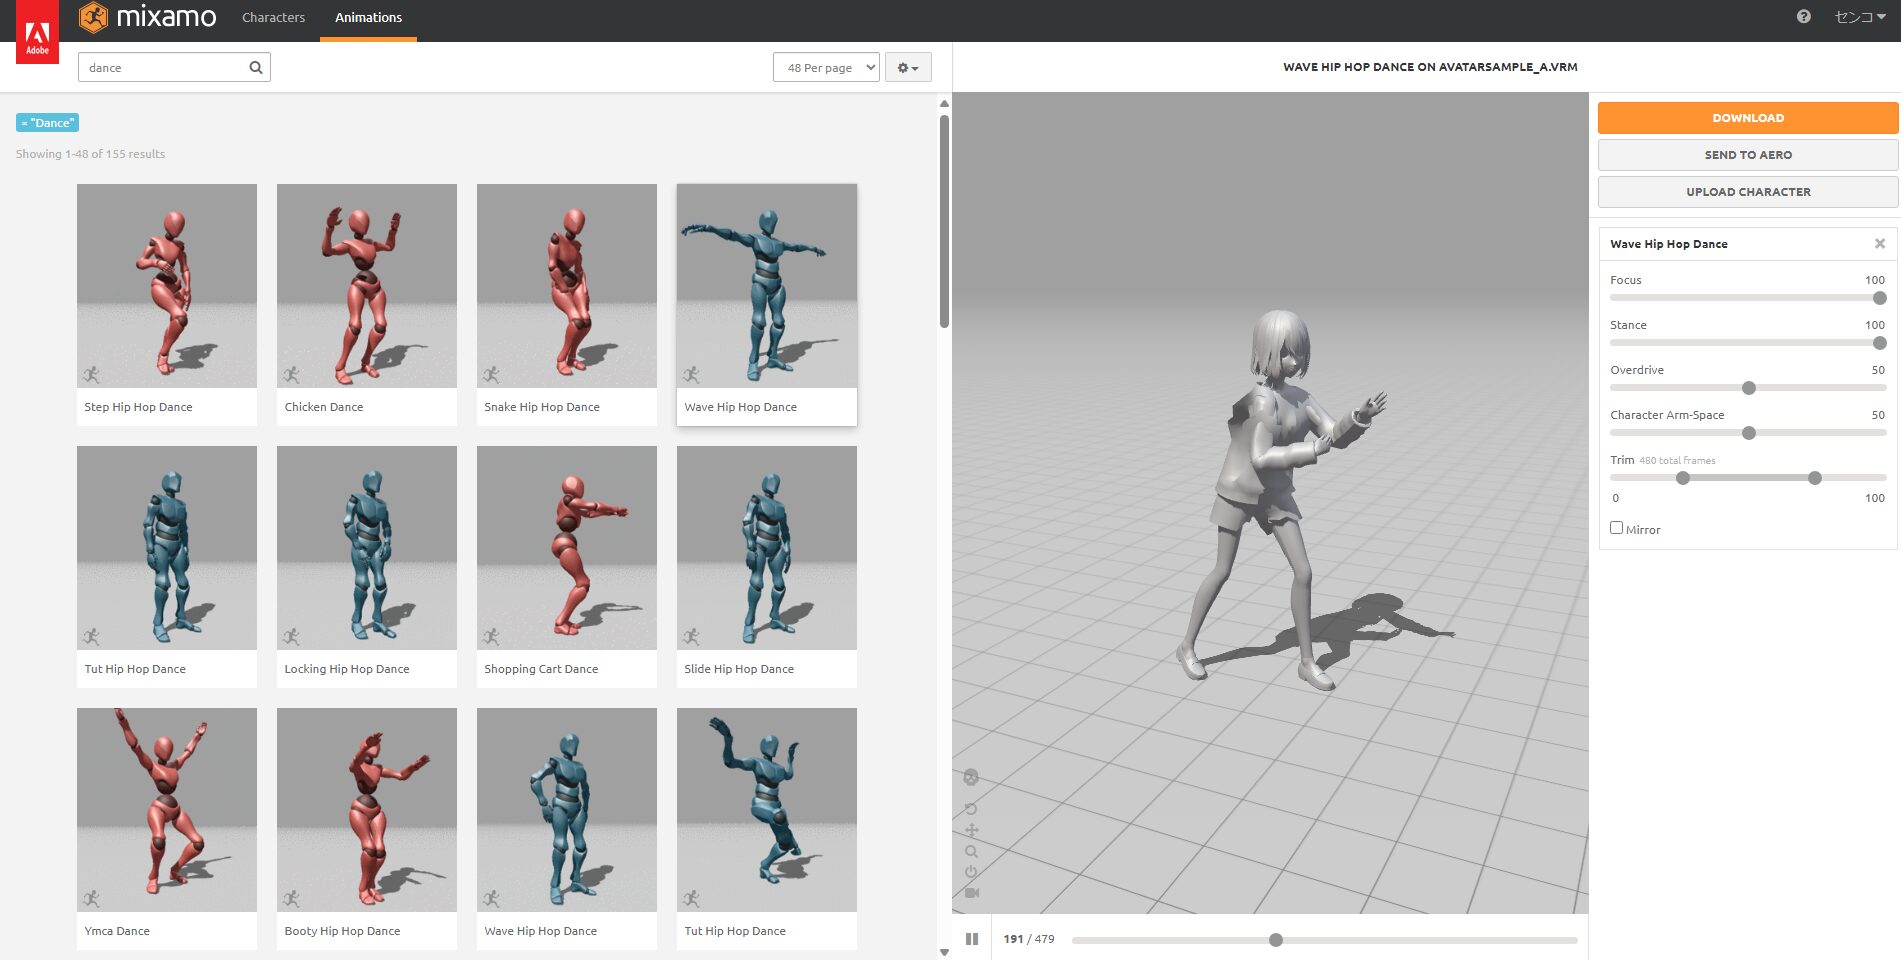
For this example, I’ll use a resource from the “SMILE GAME BUILDER” paid DLC that comes bundled with Bakin.
If you don’t have “SMILE GAME BUILDER,” refer to the Unity asset import article I wrote earlier and try importing a free asset into Bakin.
Once you’ve selected the resource you want to use, click “Add and Finish” in the lower right.

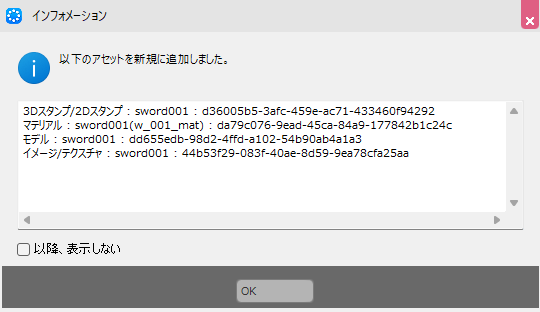
If the addition is successful, an information dialog will appear—click “OK.”
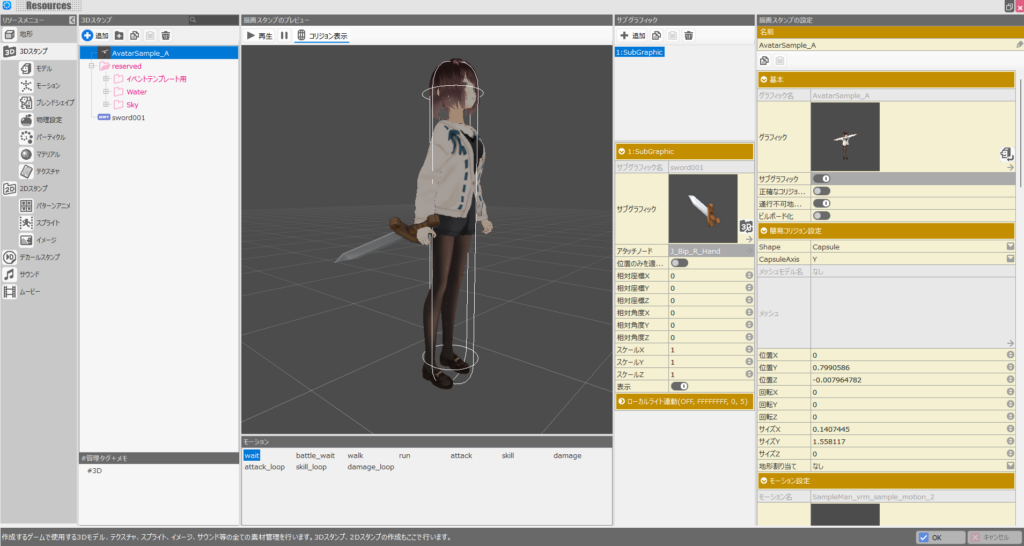
It may be hard to see, but the sword added as a sub-graphic is now placed at the character’s feet. The reason it’s at the feet is that the “Attach Node” is set to “_root.”
The “Attach Node” determines which part of the character’s body the sub-graphic is attached to. When set to “_root,” it places the graphic at the character’s center coordinate (for VRoids, this is the feet).
Click the “Attach Node” field to change the attachment location.
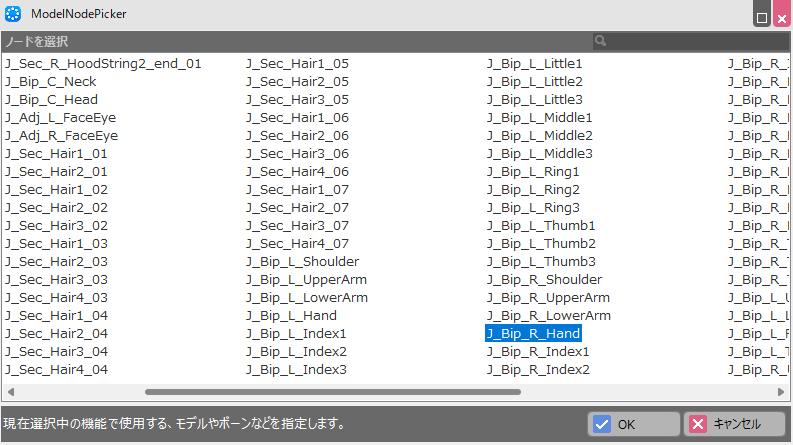
Clicking the “Attach Node” field brings up a screen showing all available node locations in the VRoid skeleton.
Explaining every node would be overwhelming, so I’ll only cover the ones relevant here. Feel free to look up the full list online if you’re curious.
For now, to place the sword in the right hand, select “J_Bip_R_Hand” and click “OK.”
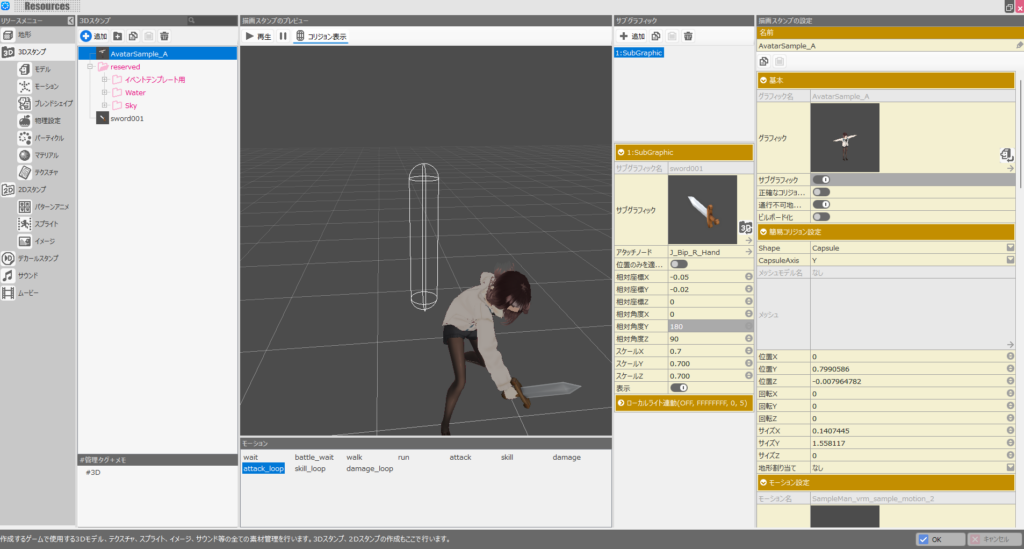
The VRoid character is now holding the sword in its right hand, but the angle and size are off. Imported assets almost never fit perfectly right away, so some manual fine-tuning is necessary.
The exact adjustments depend on the asset, but here are the values I used to get the sword to look good:
- Relative Position X: -0.05
- Relative Position Y: -0.02
- Relative Position Z: 0
- Relative Rotation X: 0
- Relative Rotation Y: 180
- Relative Rotation Z: 90
- Scale X: 0.7
- Scale Y: 0.7
- Scale Z: 0.7

With the sub-graphic configured, try switching through different motions in the preview below the main view. The character holds the sword and swings it forward during the attack motion, which looks great (though I thought I saw the sword slip briefly at one point…).
One thing to keep in mind: you may notice in the image that the “Collision” (white outline) doesn’t move with the motion.
Since the collision is also the hitbox, large motions can create a significant gap between the visual animation and the actual hitbox in Bakin. This is difficult to avoid at the moment, so just be aware of it when using large motions in-game.
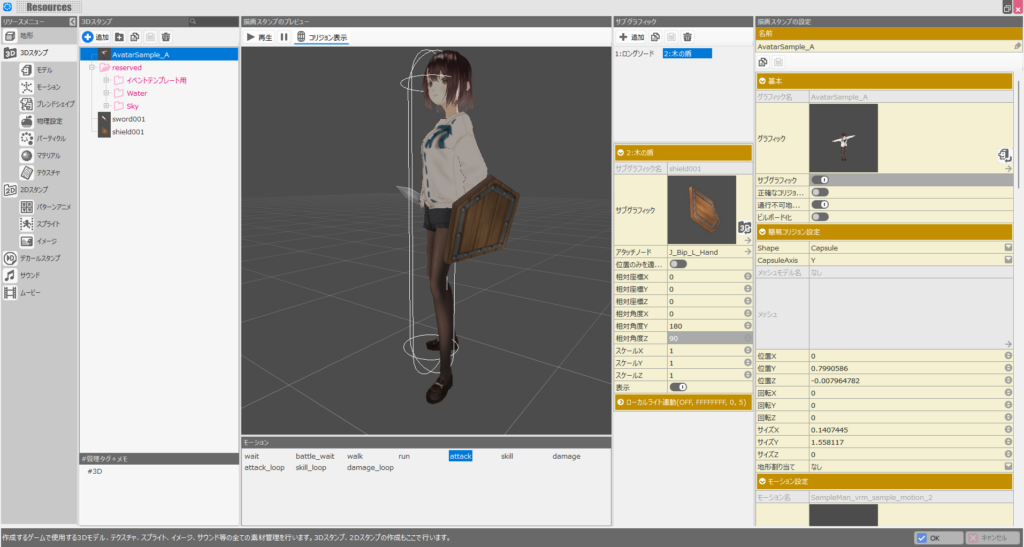
Next, I added another sub-graphic—this time a shield from the “SMILE GAME BUILDER” resources.
The process is essentially the same: change the sub-graphic resource to the shield, and set the “Attach Node” to “J_Bip_L_Hand” to place it in the left hand.
As shown, you can register multiple sub-graphics, and you’re not limited to hands—you can attach armor to the torso, hats to the head, and more.
Sub-graphics can also be toggled visible or hidden via the “Display” field at the bottom of the Sub-Graphics window, or through event scripts.
This means you can represent the equipment a player has equipped in the status screen by toggling sub-graphics on and off accordingly. That’s what makes this feature so versatile and useful.
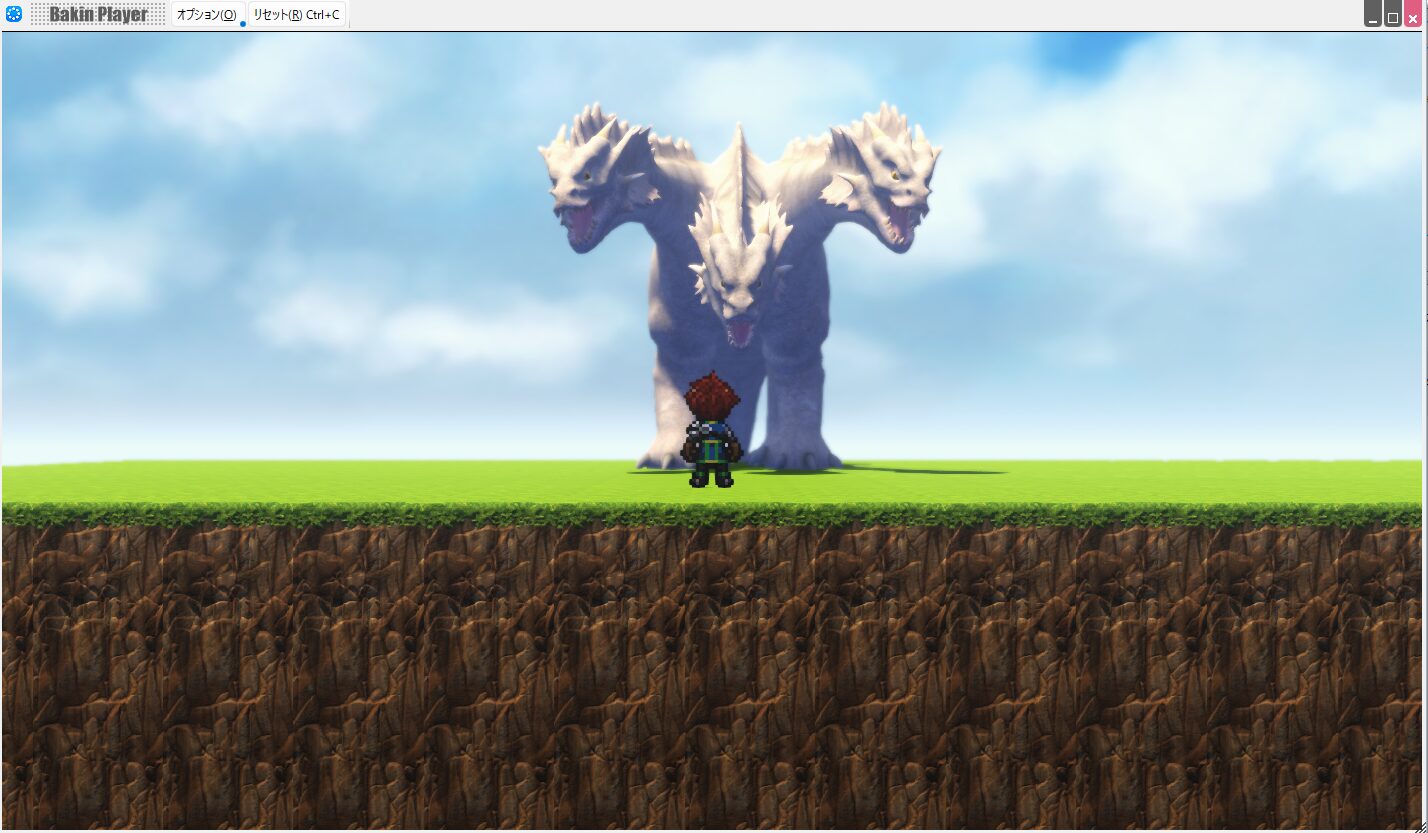
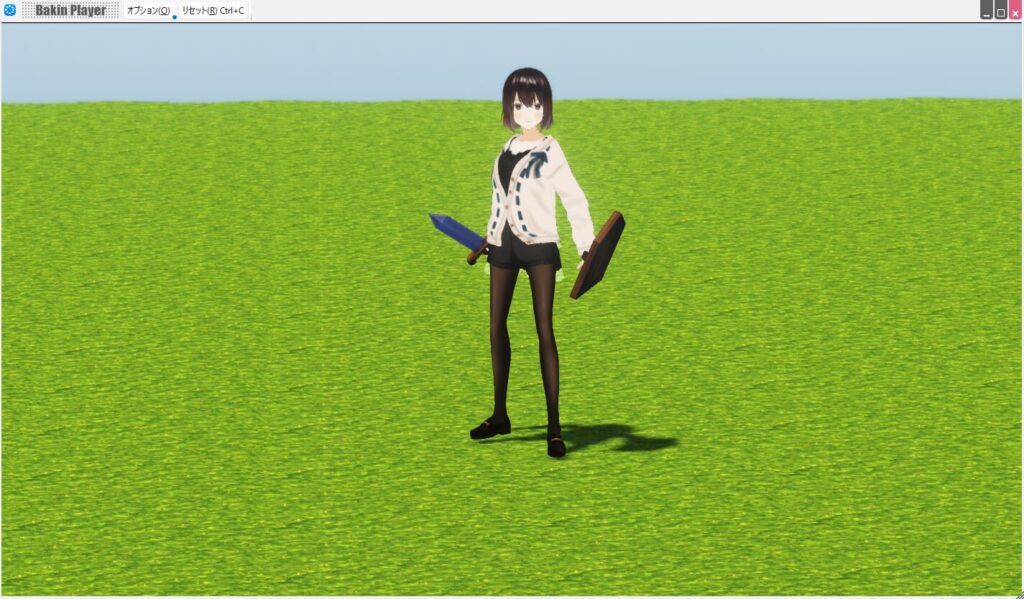
Here’s the character displayed in the Bakin game view, equipped with the sword and shield. It has a satisfying warrior look to it.
Combined with the motions covered in the previous articles, you can now reproduce a variety of weapons and animations in-game.
[Supplement] Controlling Sub-Graphics via Event Scripts
As a final note, here’s how to toggle sub-graphics visible or hidden from event scripts.
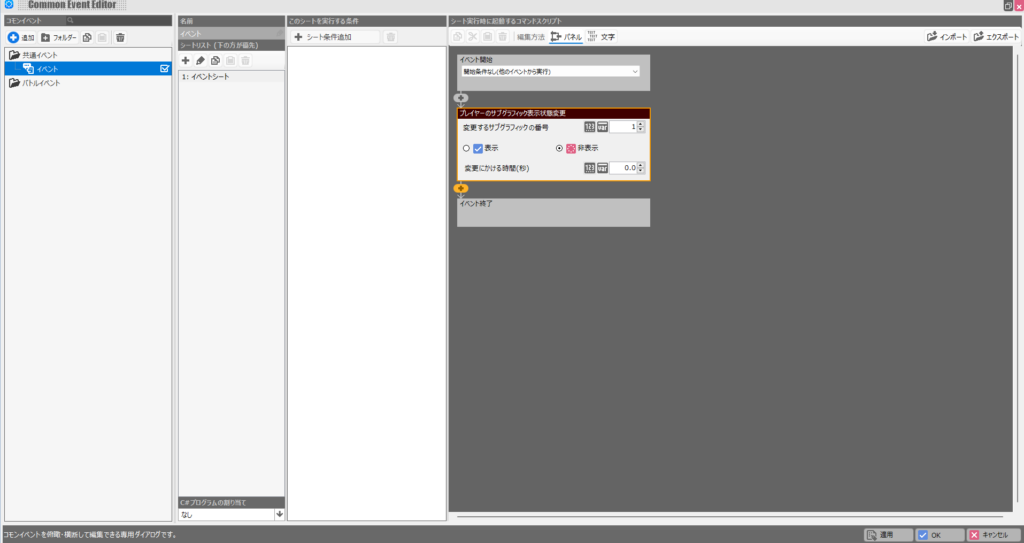
There’s nothing especially complex about it—just use the “Change Sub-Graphic Display State of [Player/Event]” event found under the “Player” or “Event” section of the script menu, as shown below.

Within the event, you can freely toggle each sub-graphic visible or hidden by specifying its number.
The sub-graphic numbers correspond to the order shown in the Sub-Graphics window from earlier, so just match the numbers accordingly.
Summary
This article, together with the previous two, wraps up my coverage of Bakin’s VRM import feature. I think I’ve covered everything I wanted to say about VRM imports for now, so next time I’ll write about a different topic.
That said, writing these guides has reminded me how accessible Bakin makes everything—importing VRoids, creating motions, and equipping gear as we covered here.
Compared to Unity or Unreal Engine it’s undeniably less capable in terms of features, but as a game engine that lets you create games without deep technical knowledge, it’s genuinely impressive.
Especially when I see the direction that RPG Maker has gone, I think Bakin has a lot of promise for the future—though for some reason it hasn’t really caught on with a wider audience.
Honestly, given how much it can do, I’d love to see it get more popular. My only worry is that if it stays niche, development might stall.
I’ll continue covering how to build games in Bakin going forward—check back if you’re interested.

📚 Series: RPG Maker Bakin: Game Development Guide (17/17)